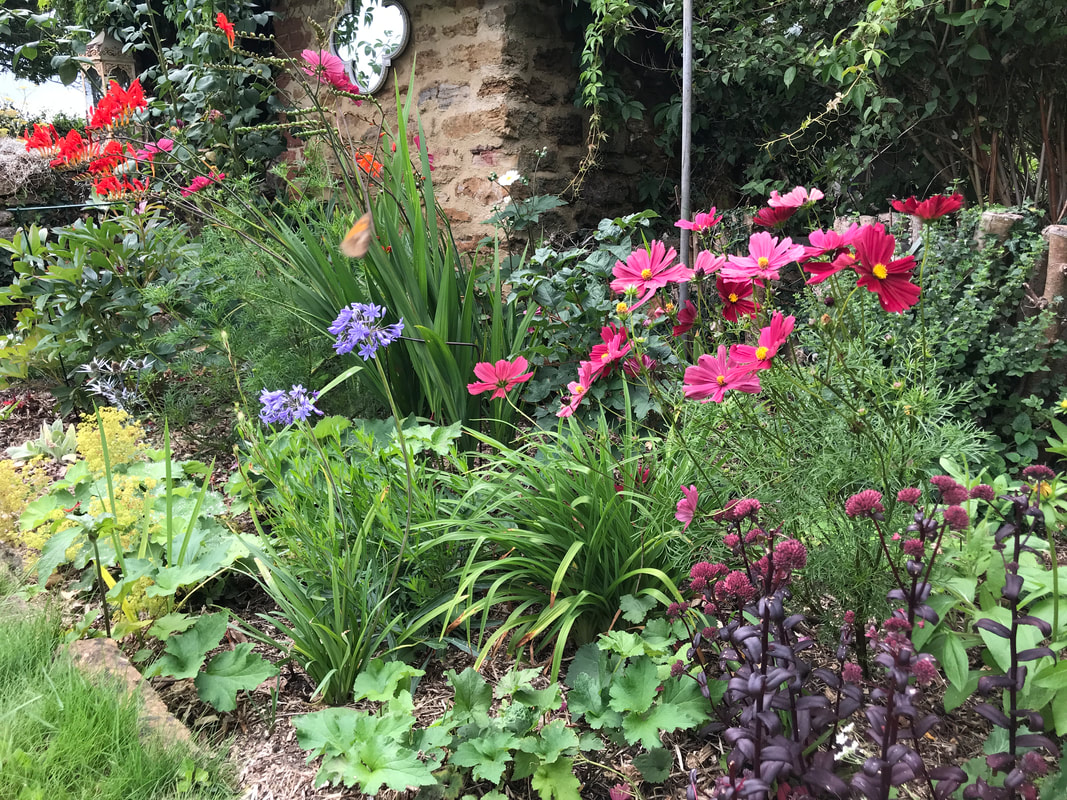
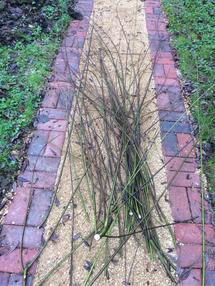
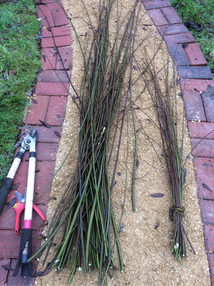
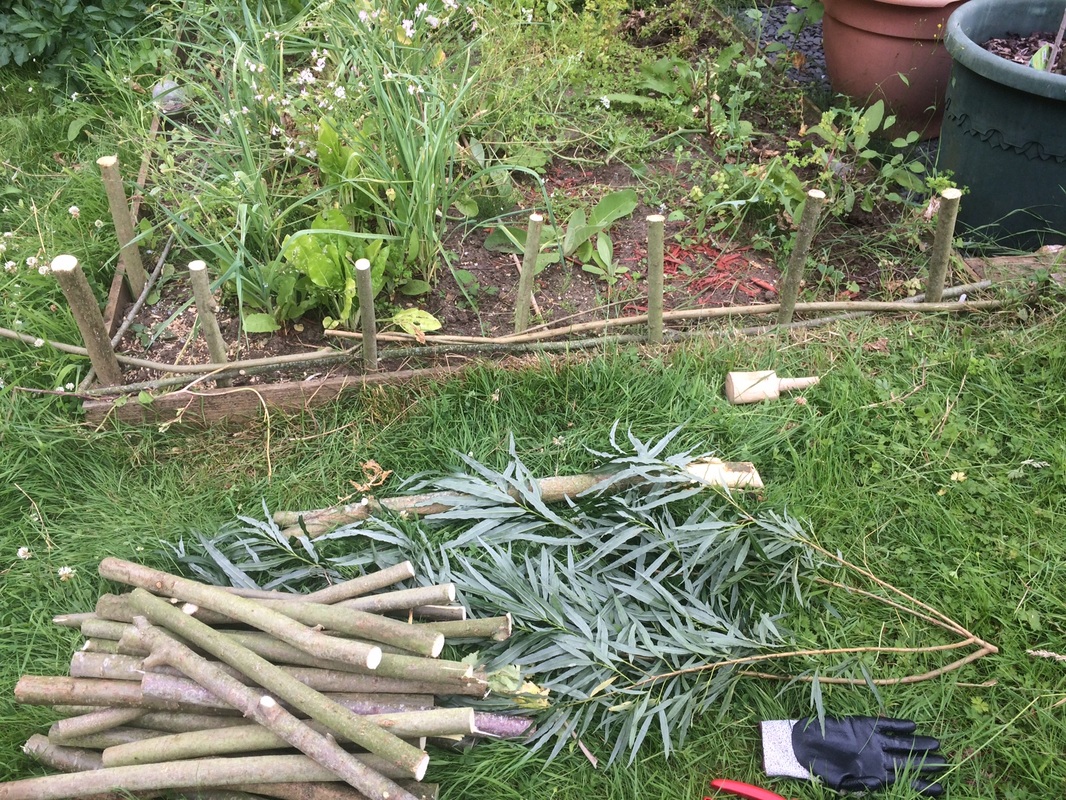
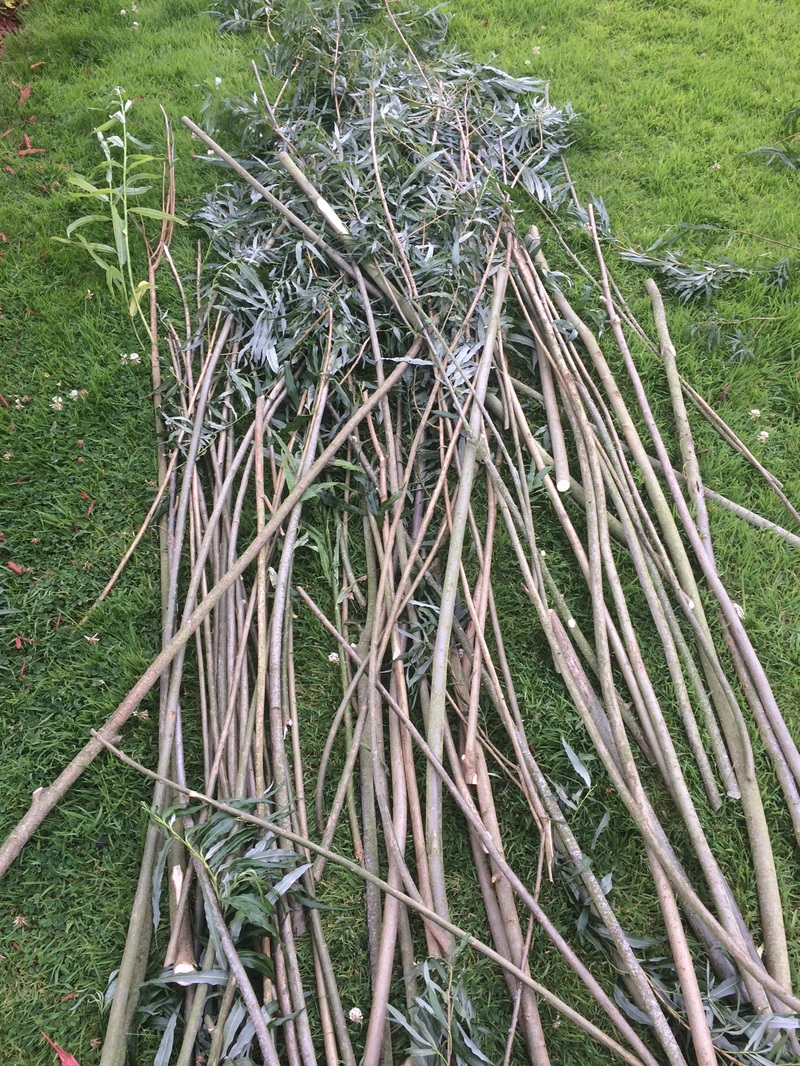
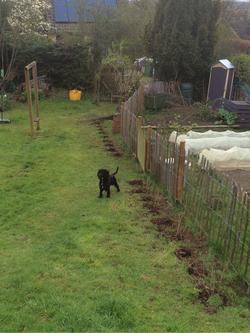
I have a large WIllow tree (Salix) at the bottom of the garden, so today I went out with my loppers and coppiced all the long branches that have sprouted from the base, these long slender sticks are called "Osiers". The smaller sticks I have also kept and bundled together, these are called "whips" and are used to tie supports together.
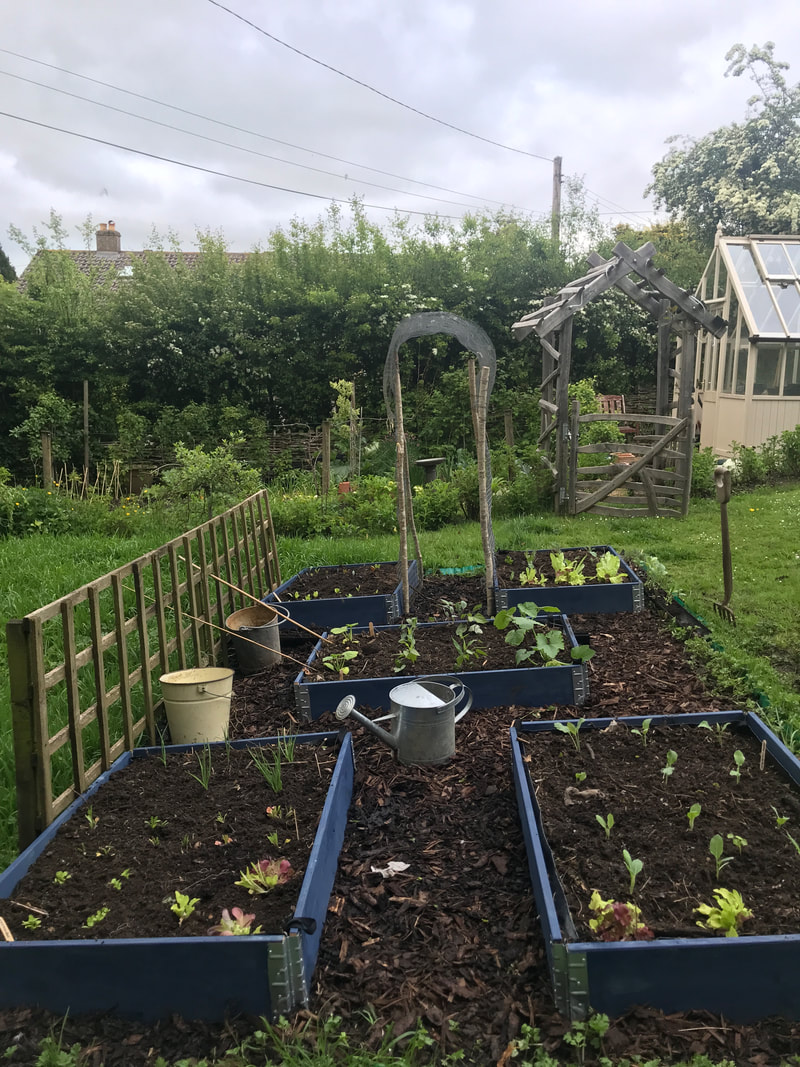
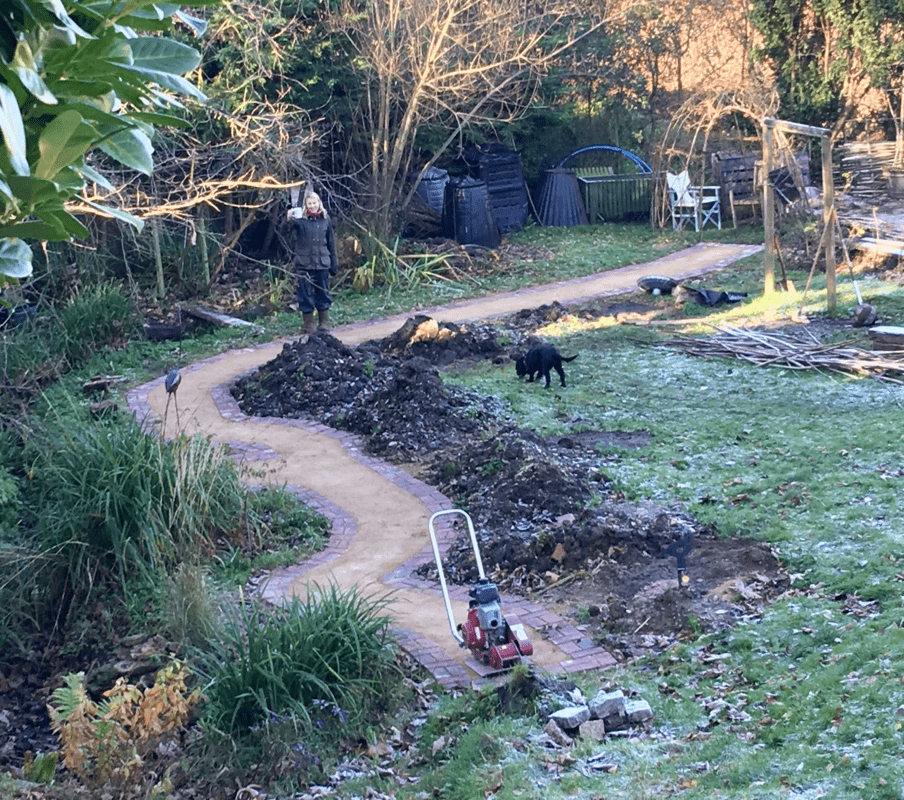
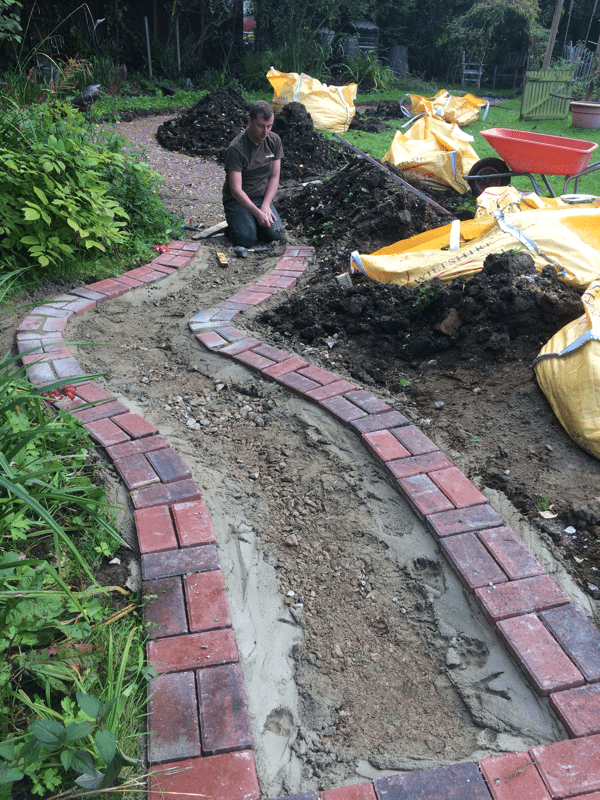
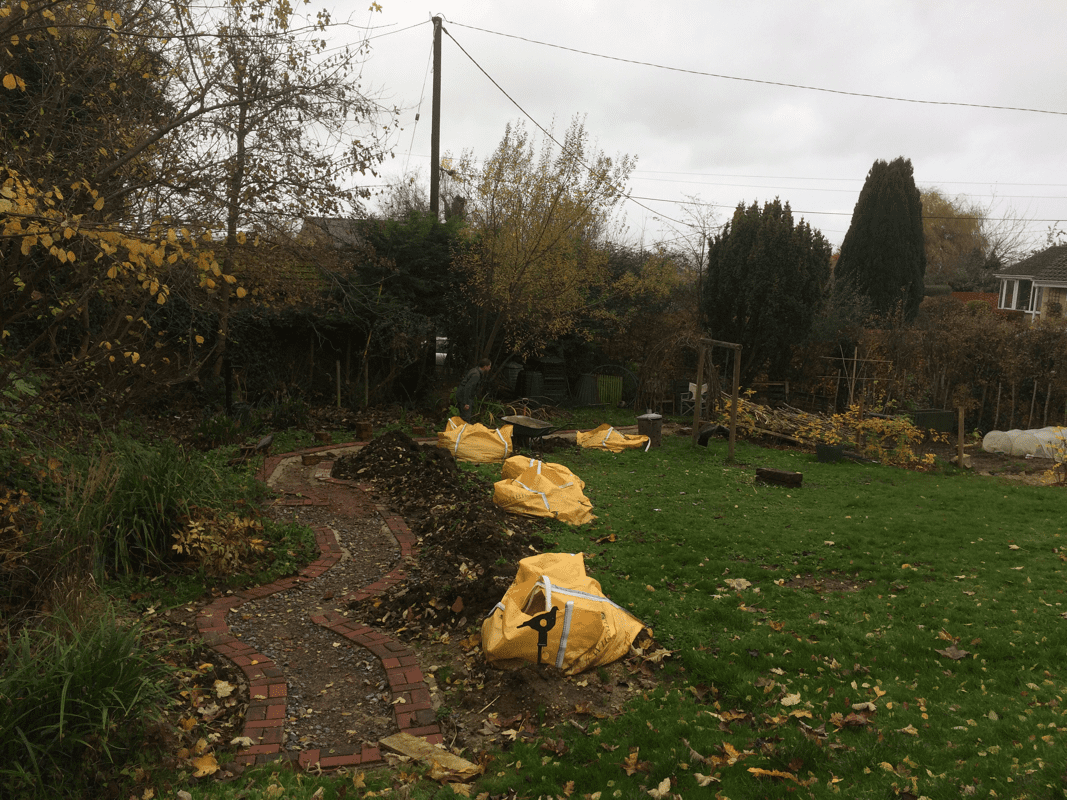
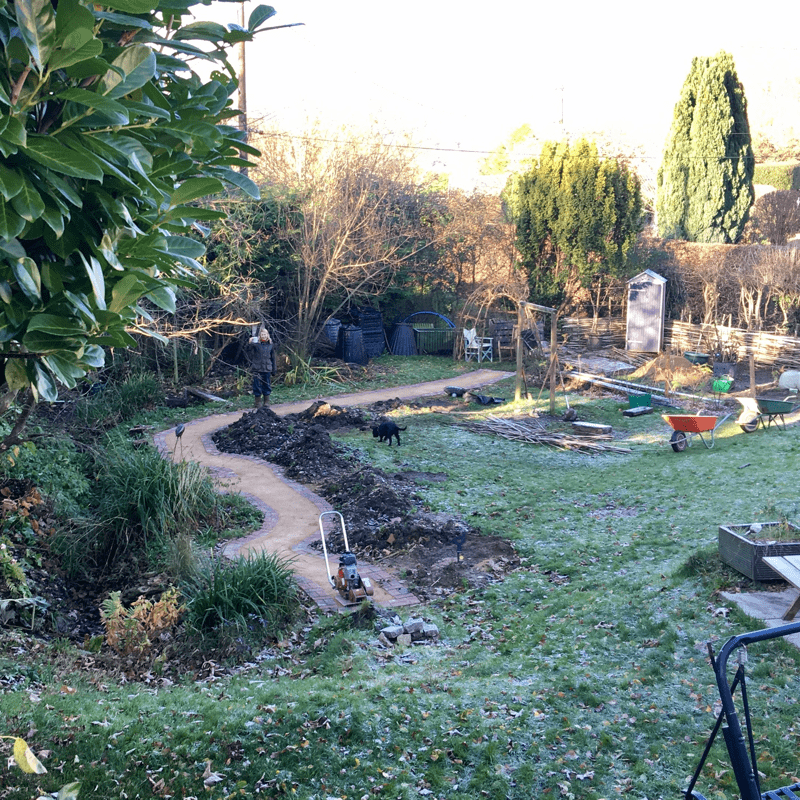
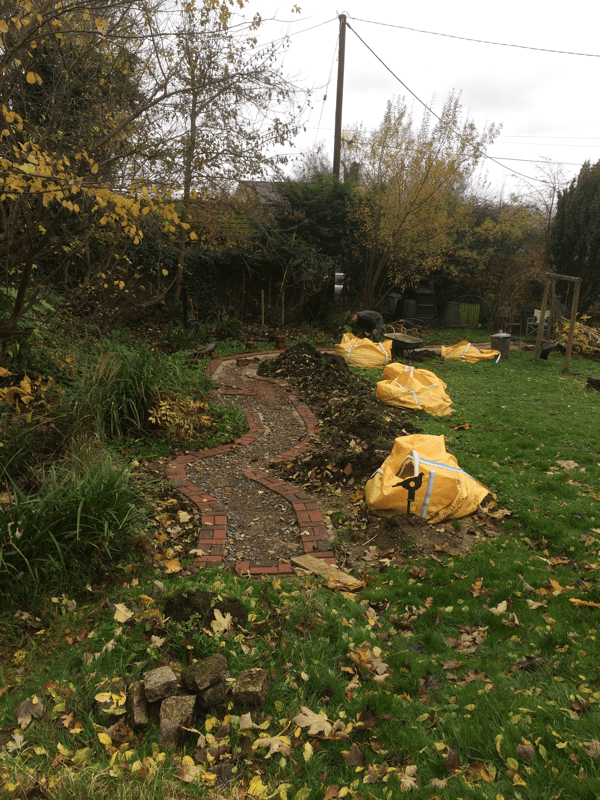
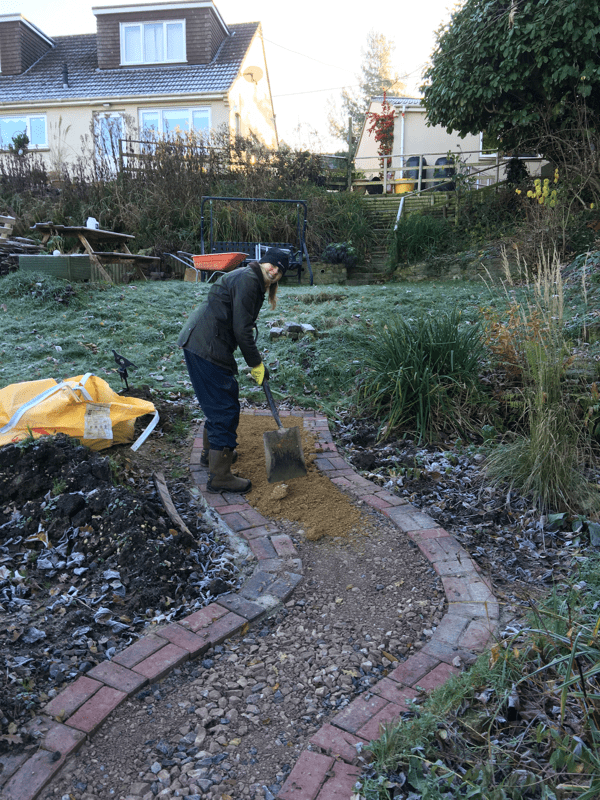
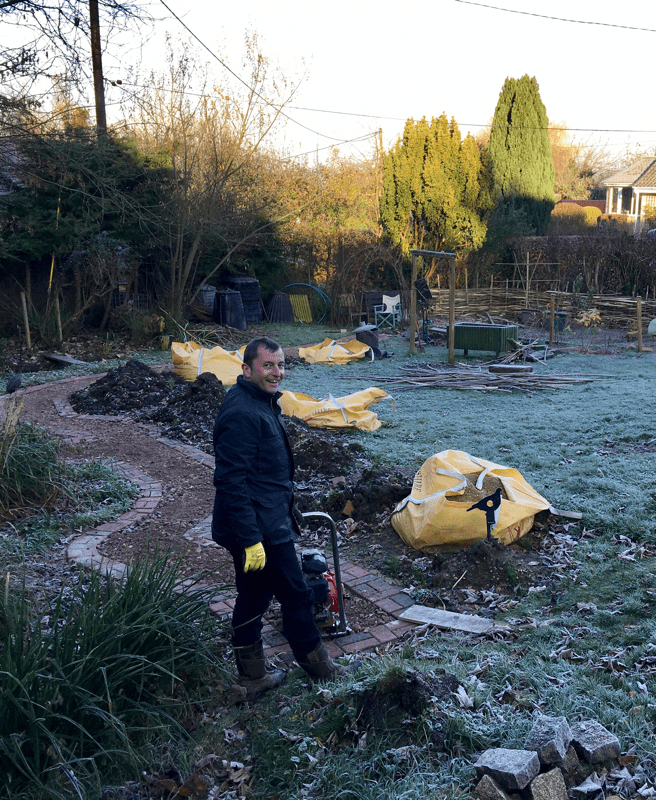
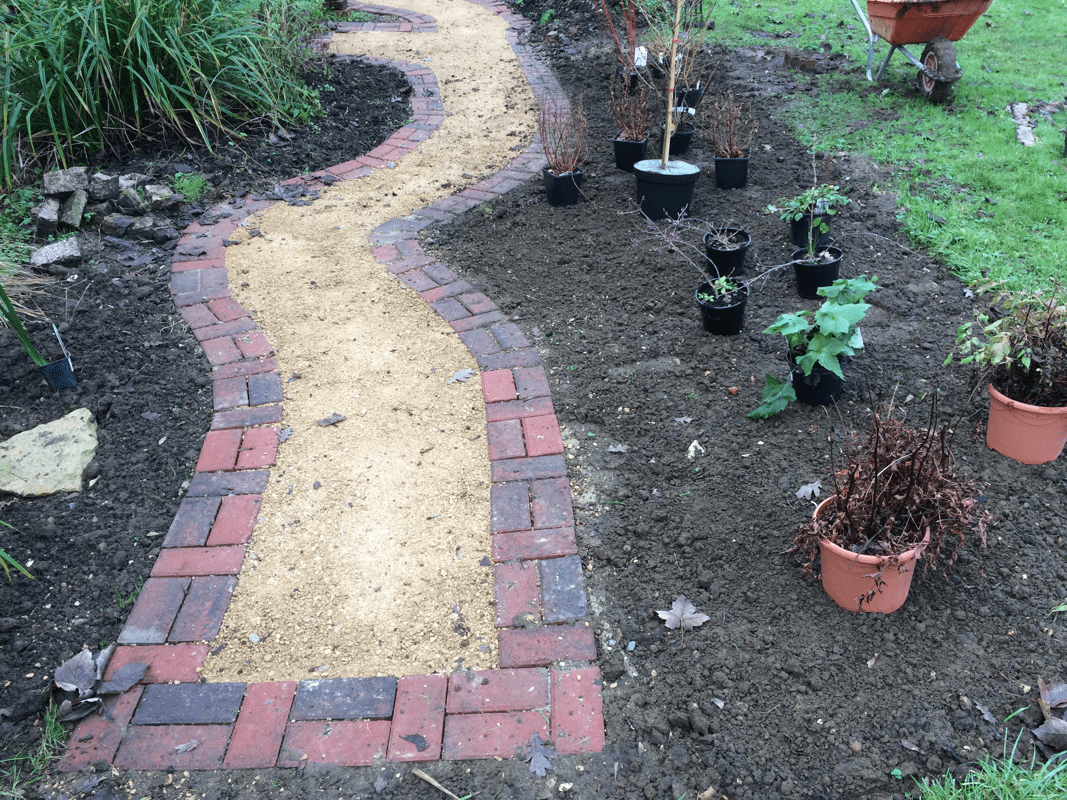
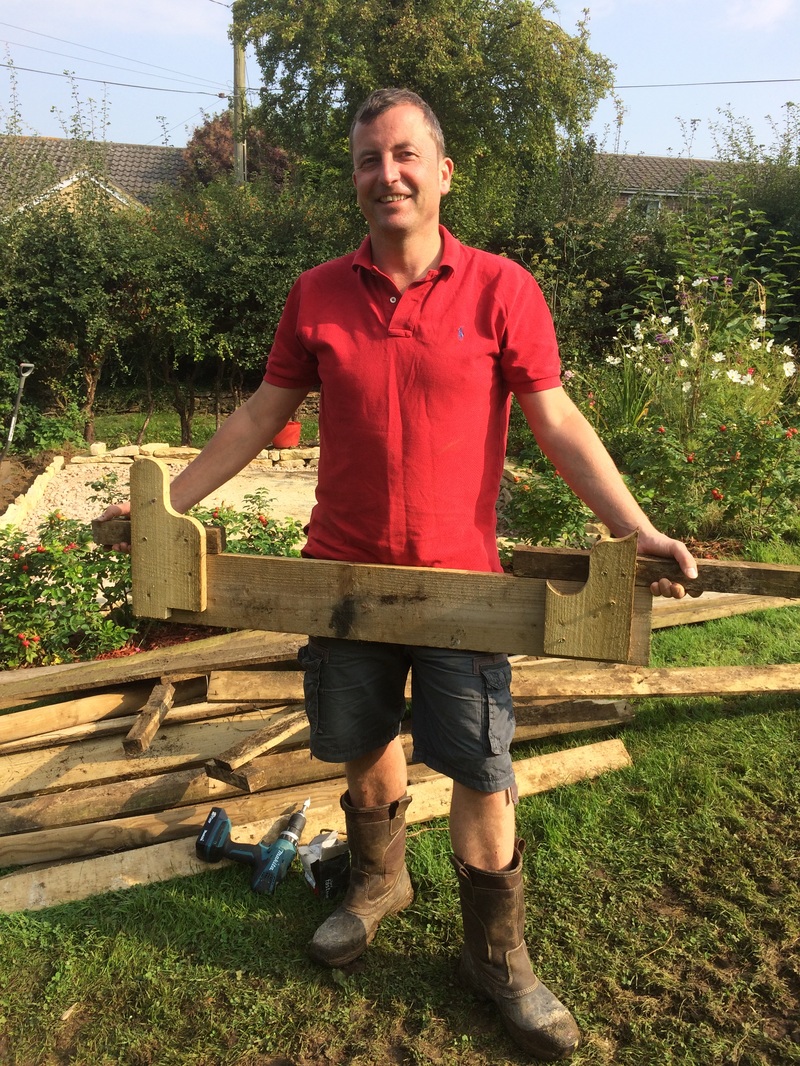
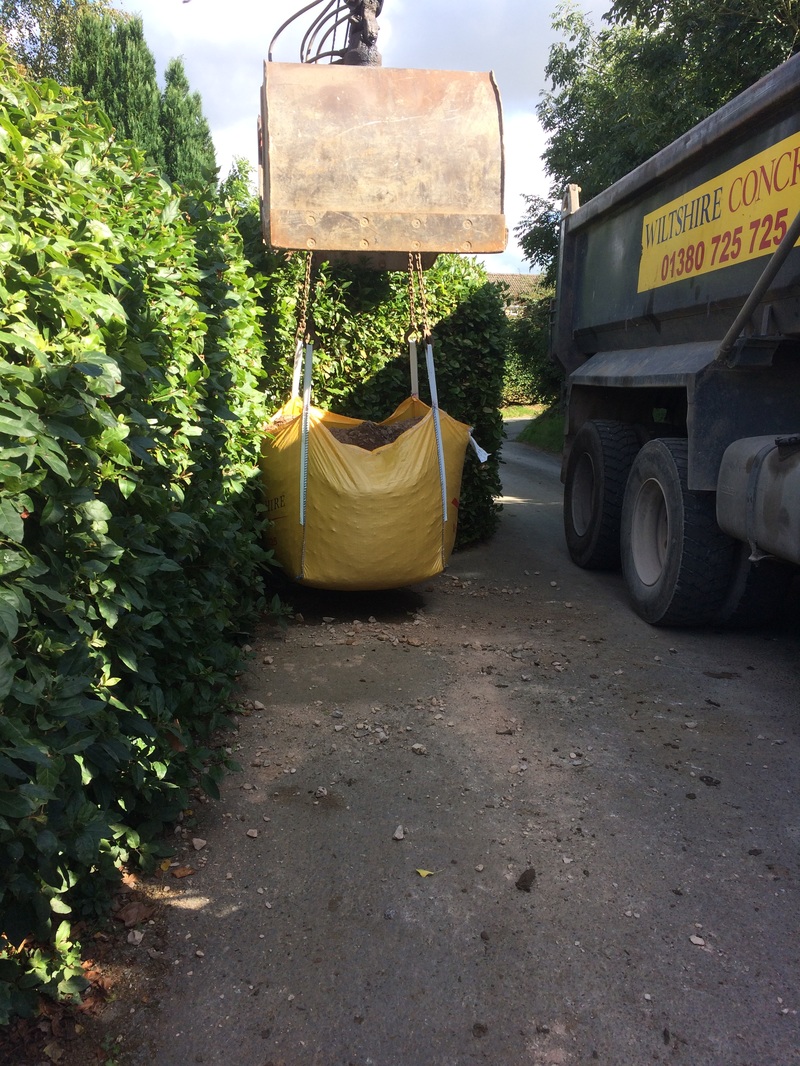
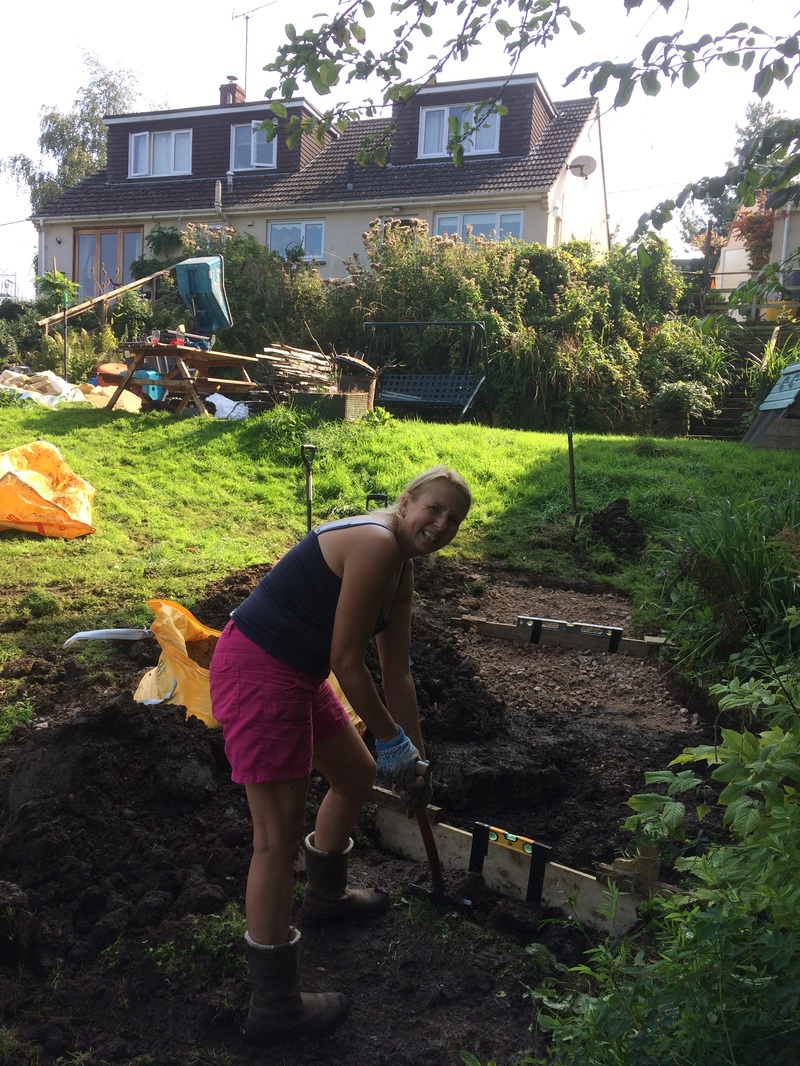
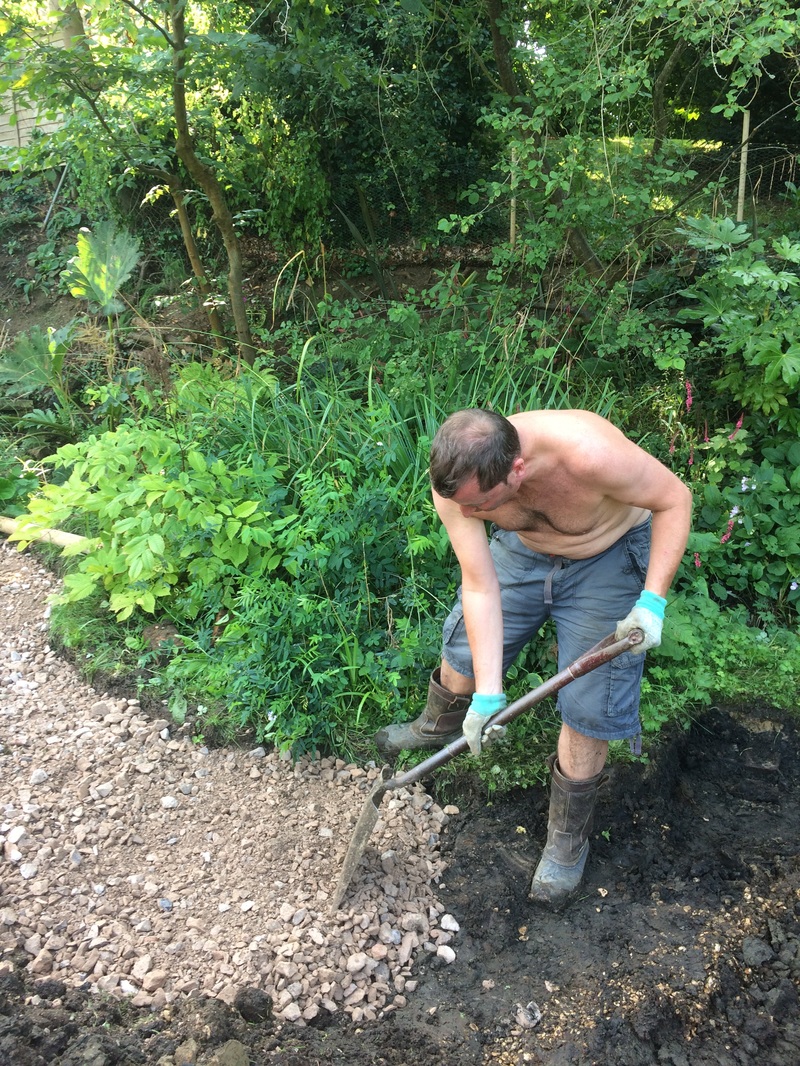
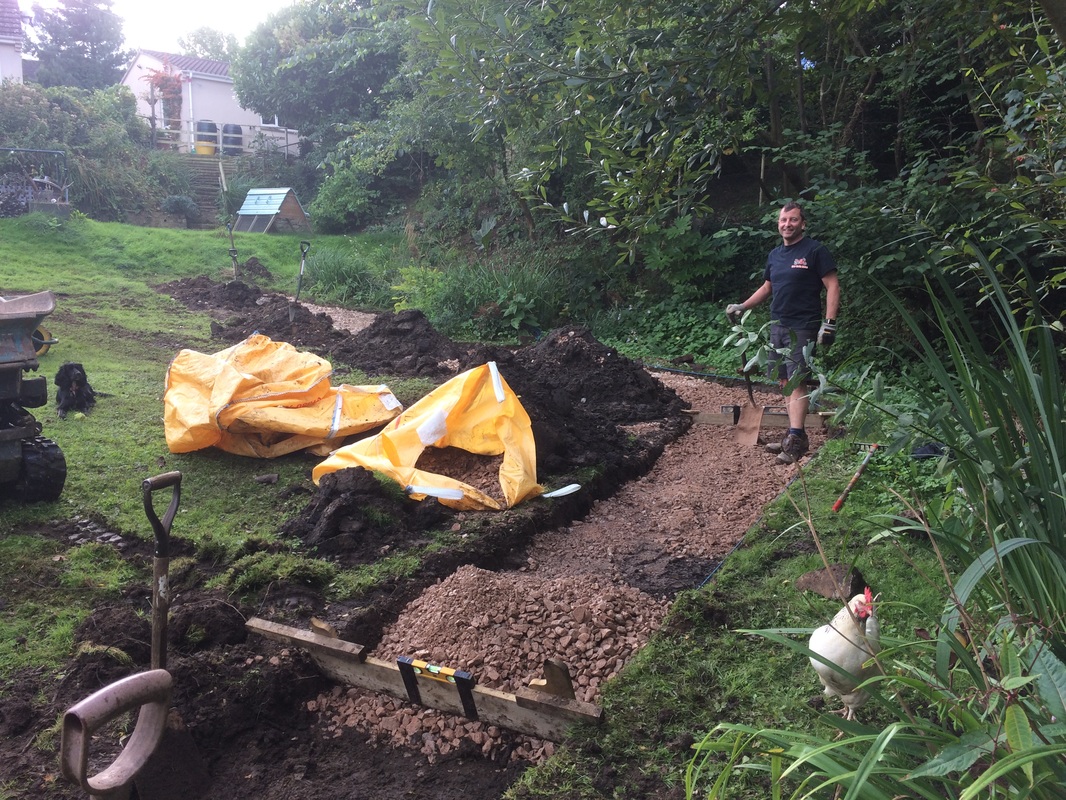
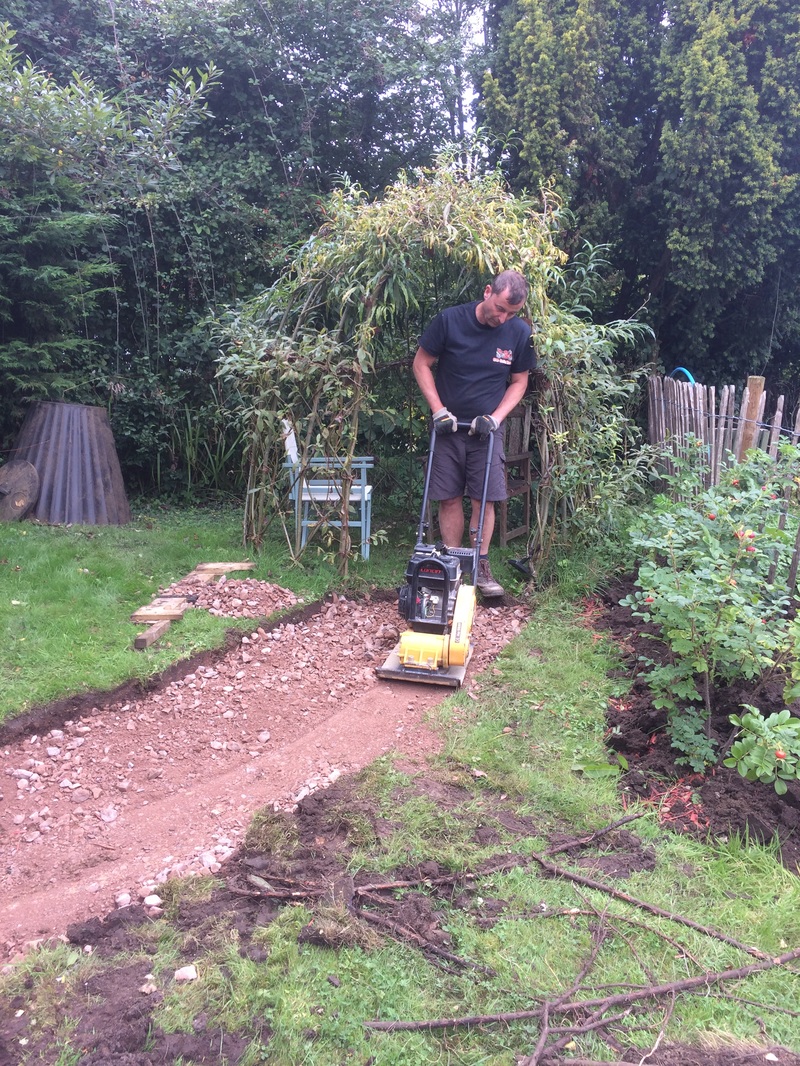
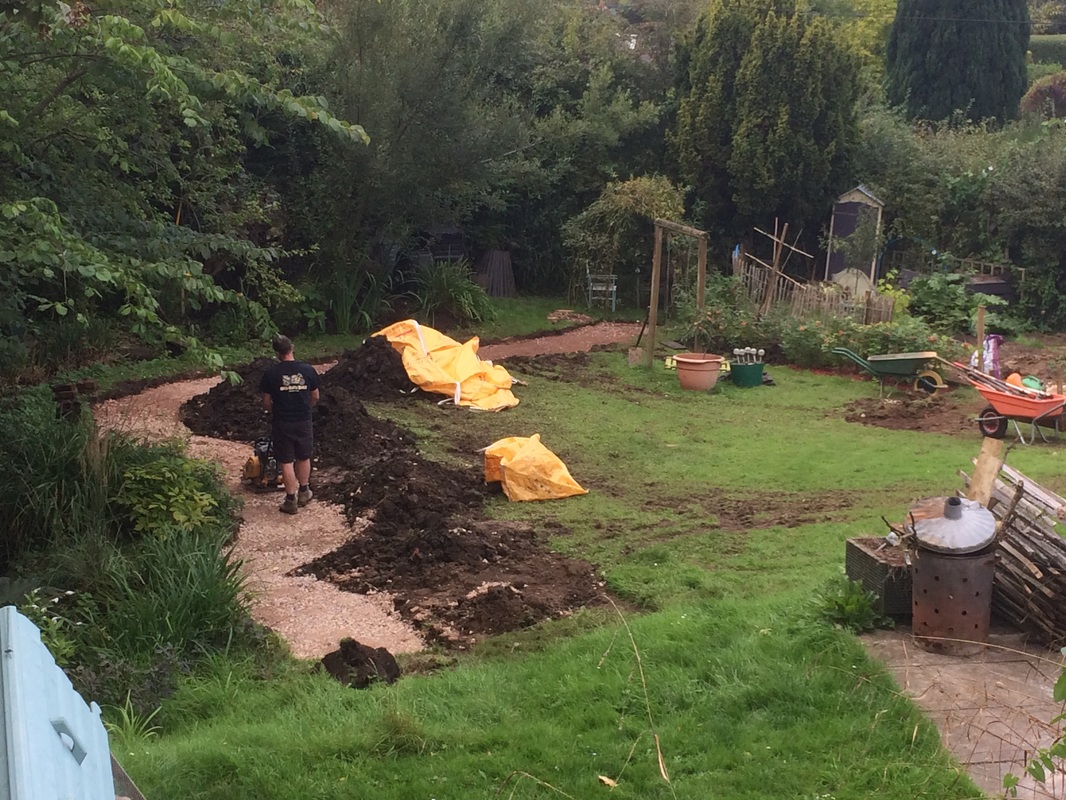
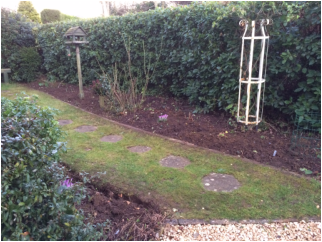
I will use all the Osiers to make plant supports for the garden and I also want to make a small 1ft high woven edge for the allotment. I will use the coppiced Hazel rods I have to insert into the ground and use the Willow rods to weave, this is because, if you put the Willow rods into the soil, they are probably going to sprout and I don't want a living willow hedge in the allotment. Really please with the path, this side of the garden has now become useable, the ground is really wet with the natural springs so we have laid a hardcore base, used edging bricks and filled with "Hoggin" a self binding gravel. The colour is from using Cotswold stone. If I had to do it again I would not lay the bricks in this pattern because it was difficult going round corners on a sloping path! lesson learned.
|


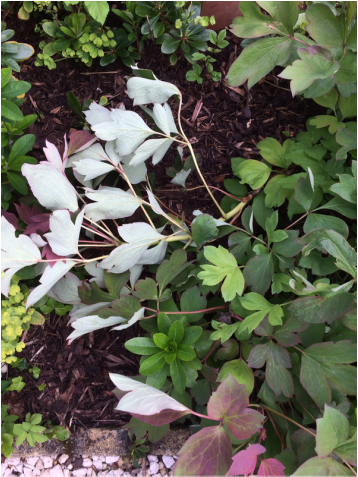 | 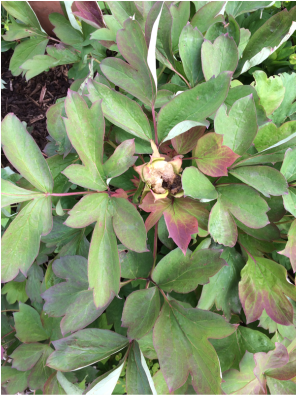 |
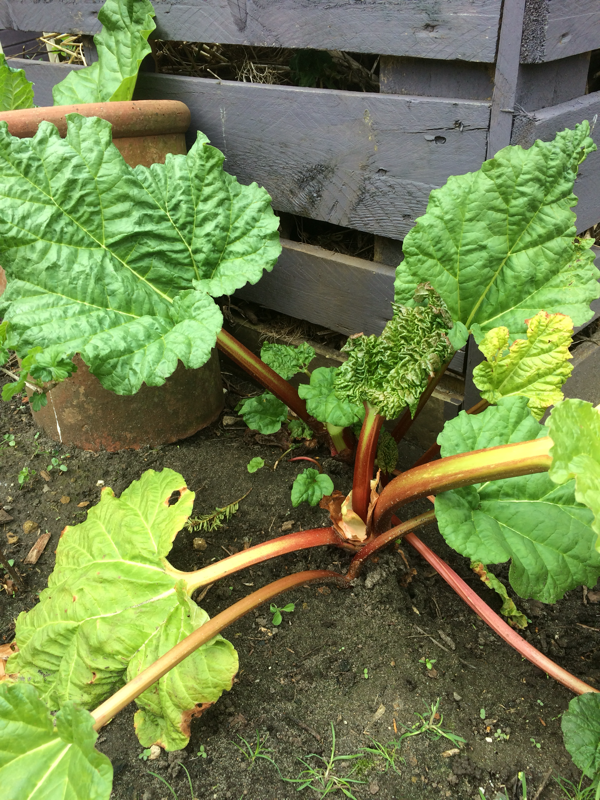
I can't believe it, came out this morning and my Peony has wilted and then I noticed the buds. I have removed all the effected areas and hope this will stop it spreading.

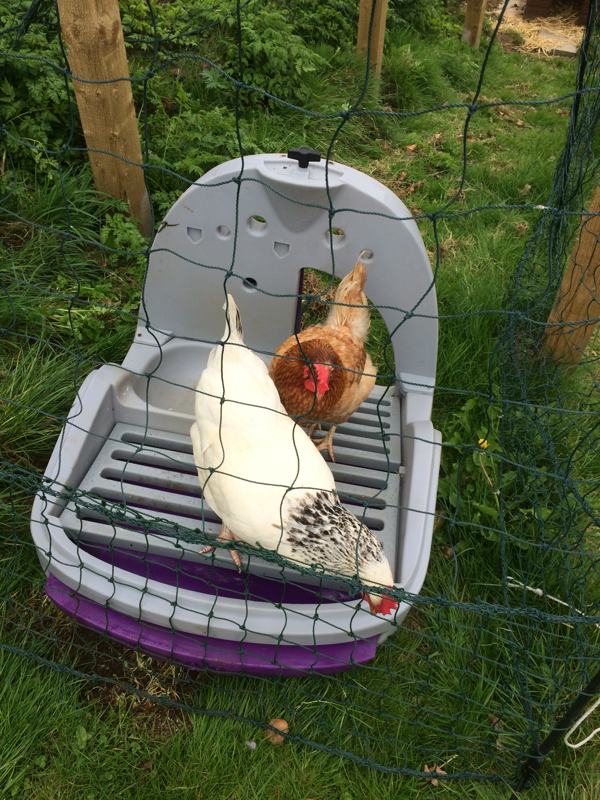
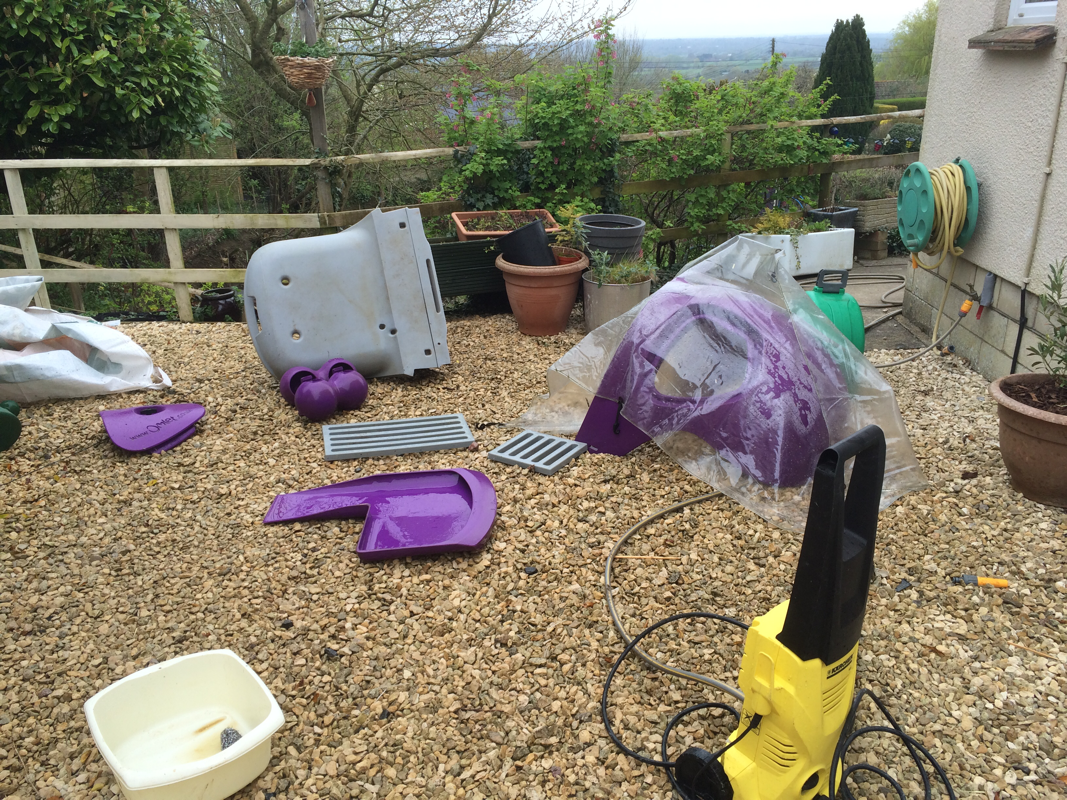
| | I went to collect the eggs and when I opened the hatch there were a couple of red mites. I think they were red garden spiders but they could also have been red chicken mites, so it is time to really clean the coop. It came up an absolute treat with the Jet wash. I had put the chickens is the other coop and Hazel the white one was not happy, she flew over the top and came to the window. I think she was looking for her pen so she could lay her egg. |
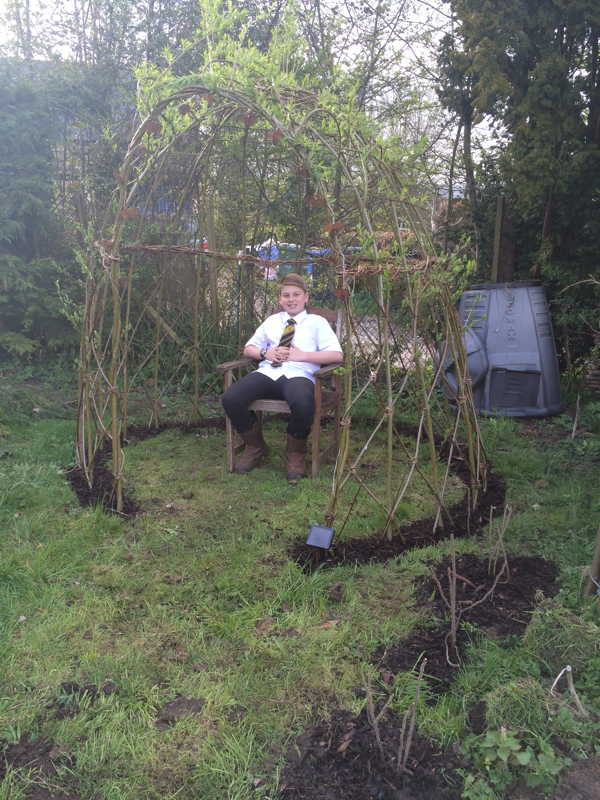
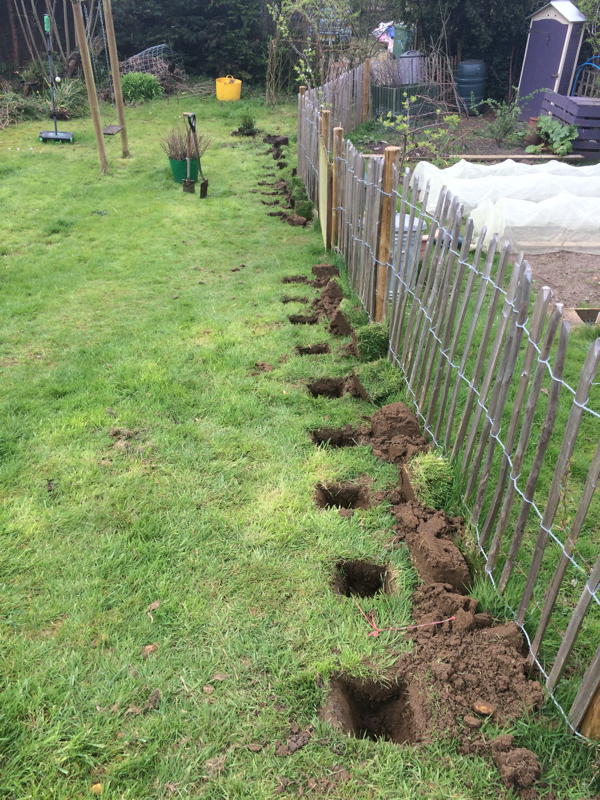
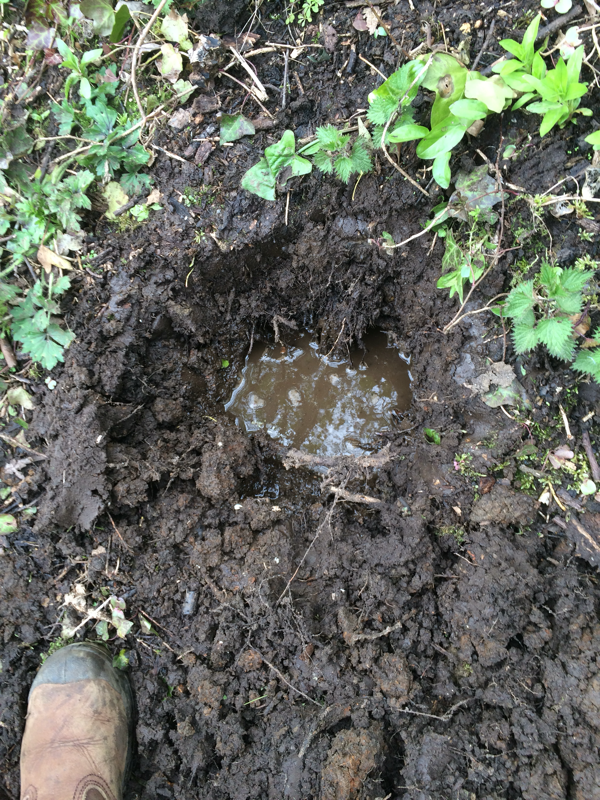
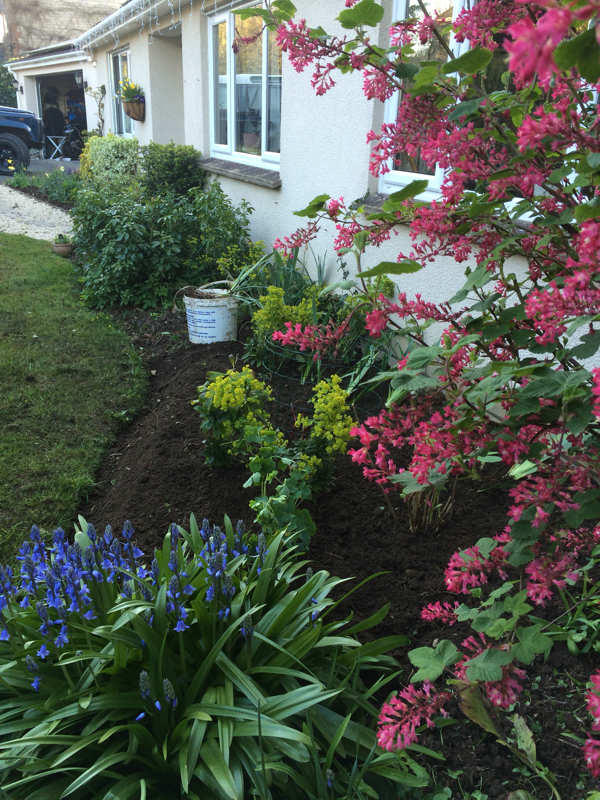

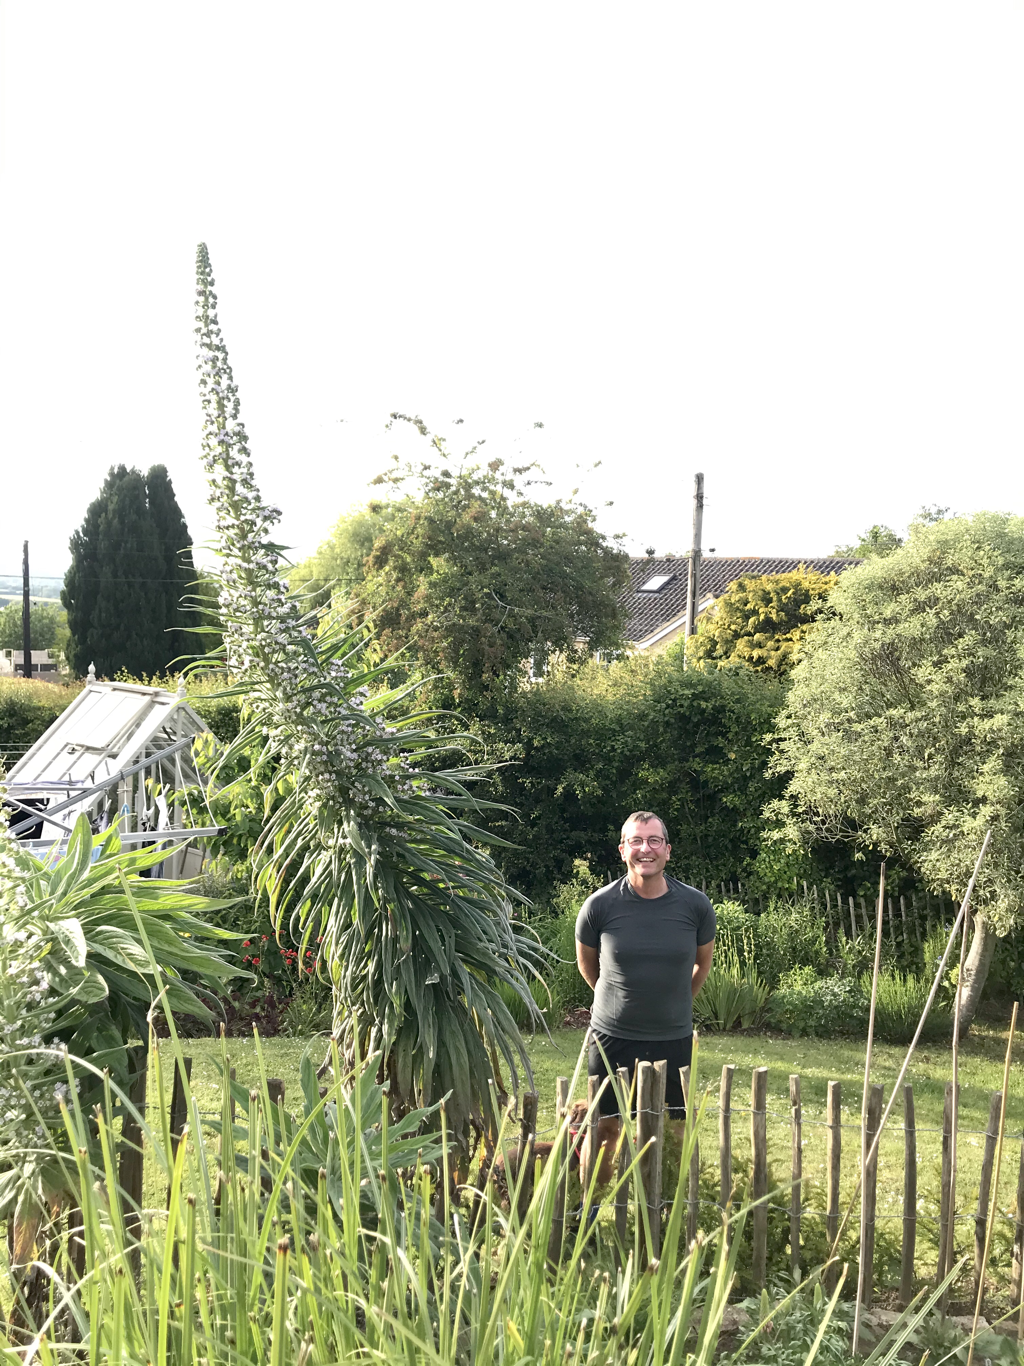
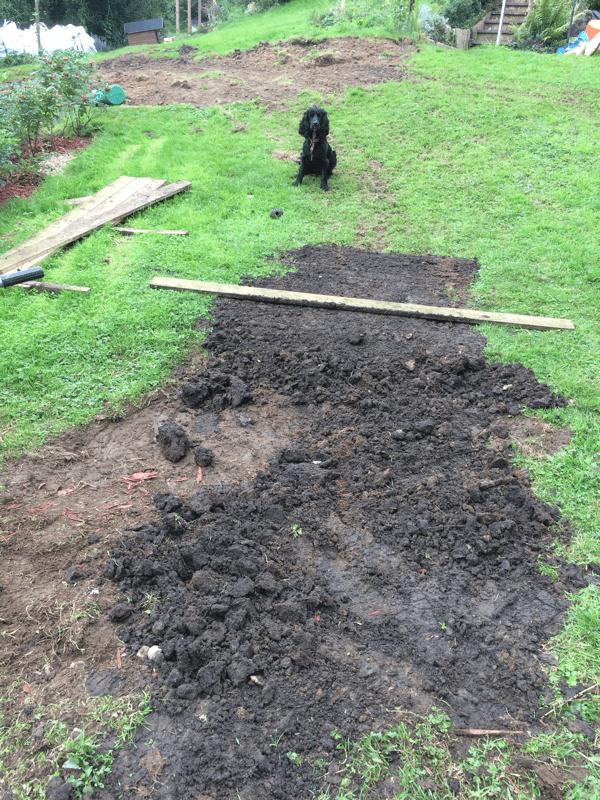
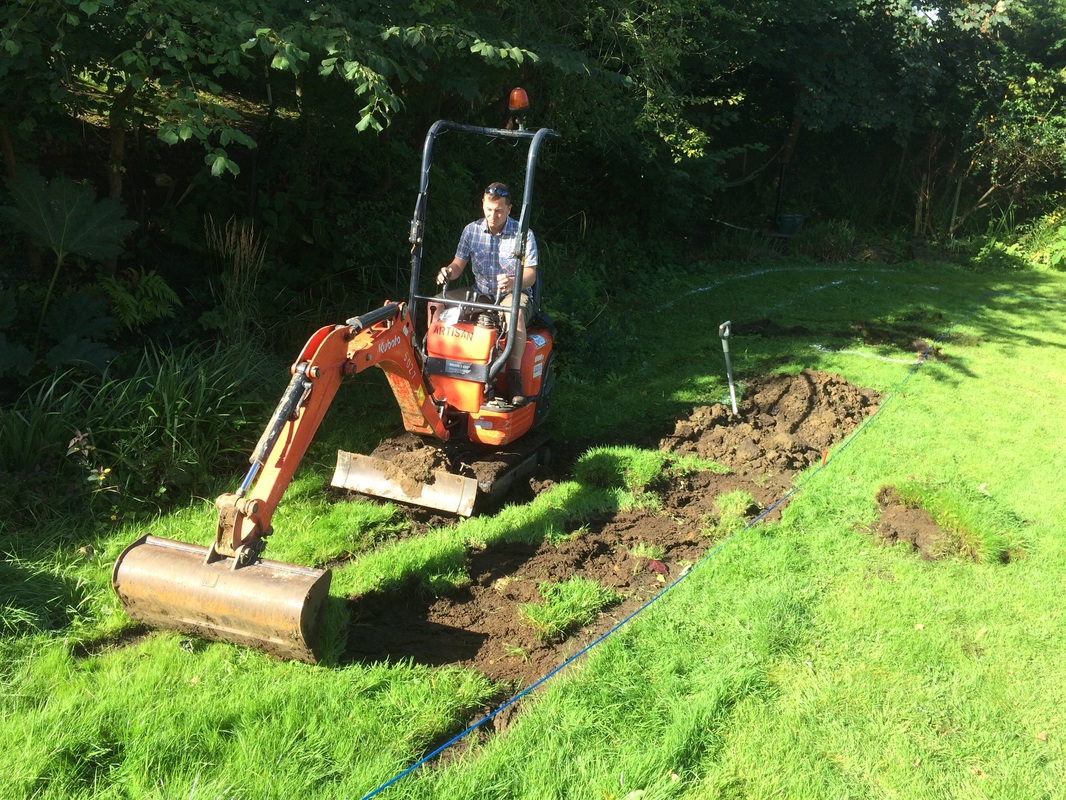
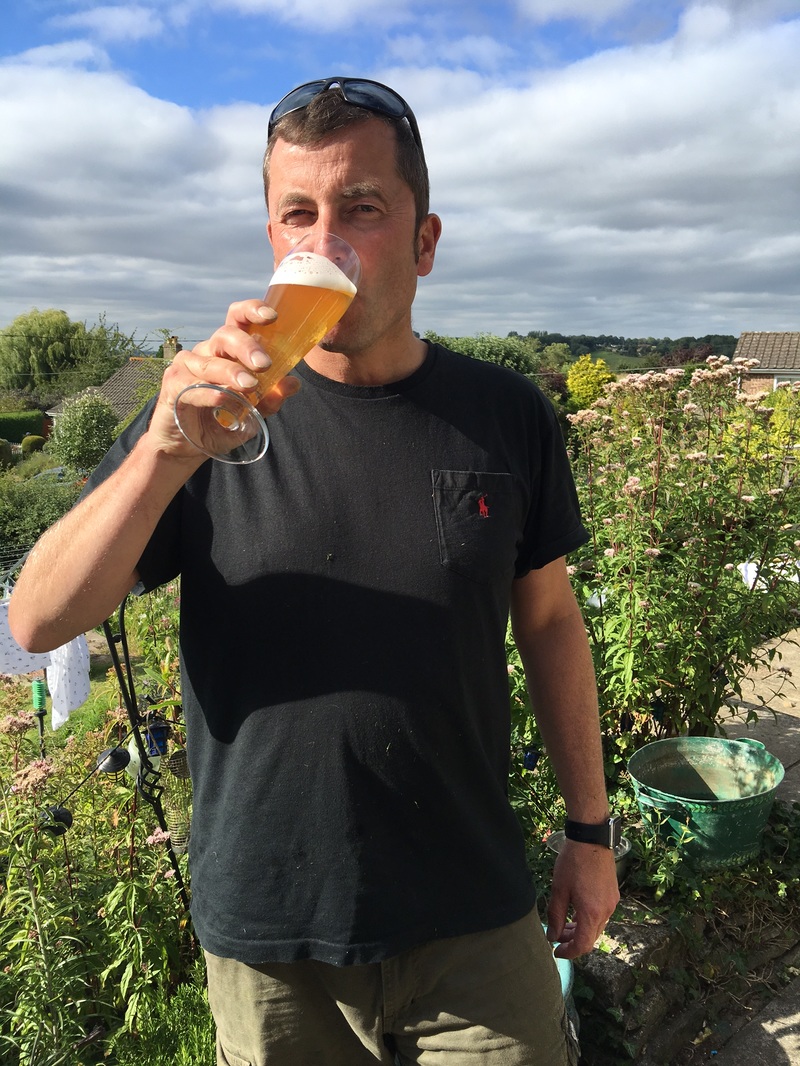
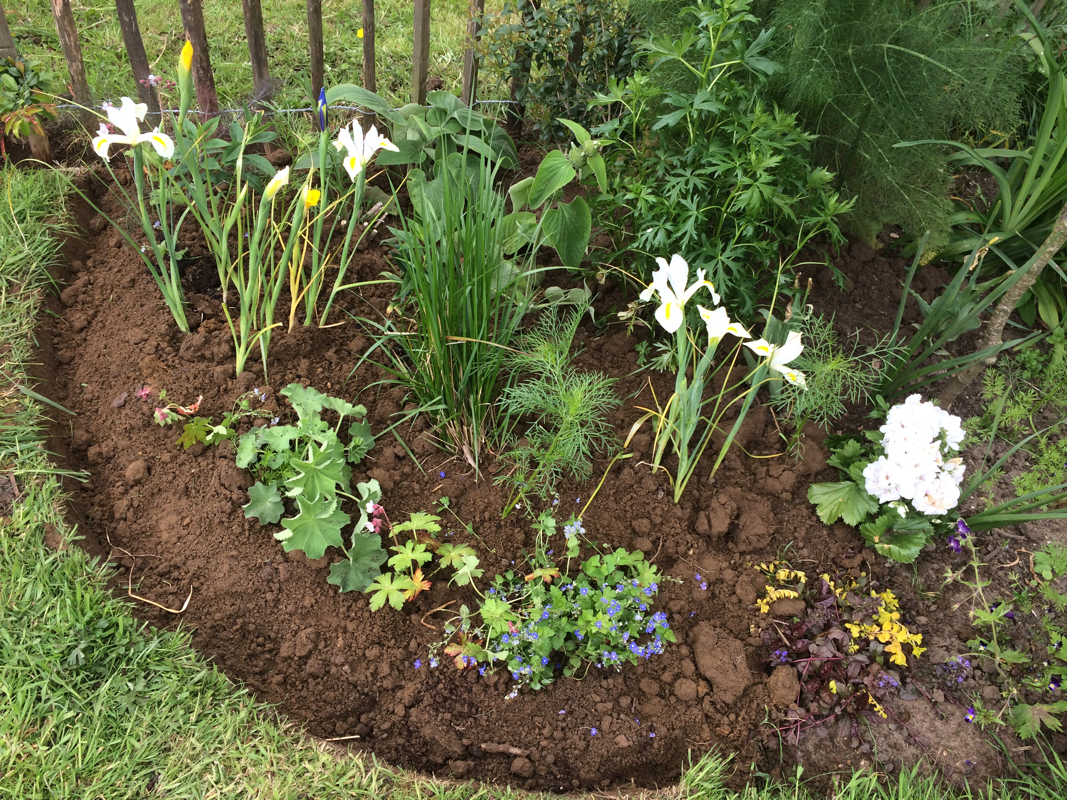
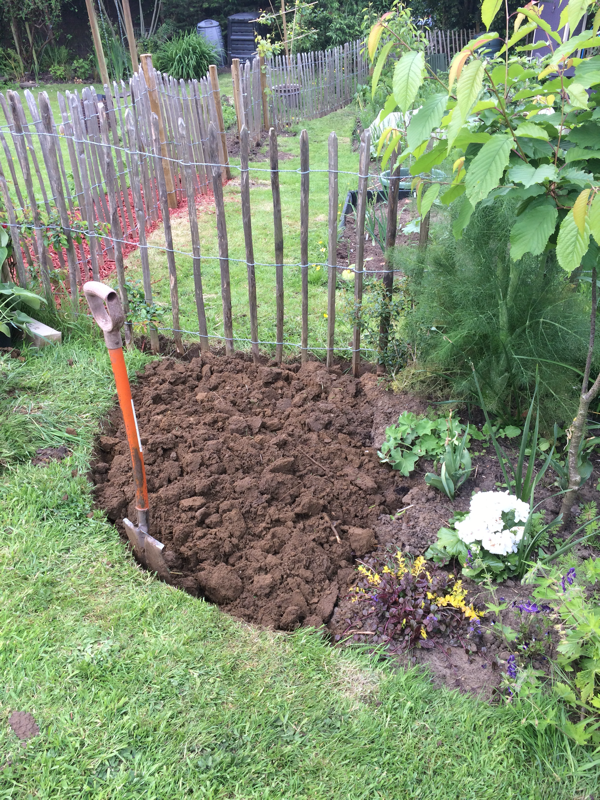
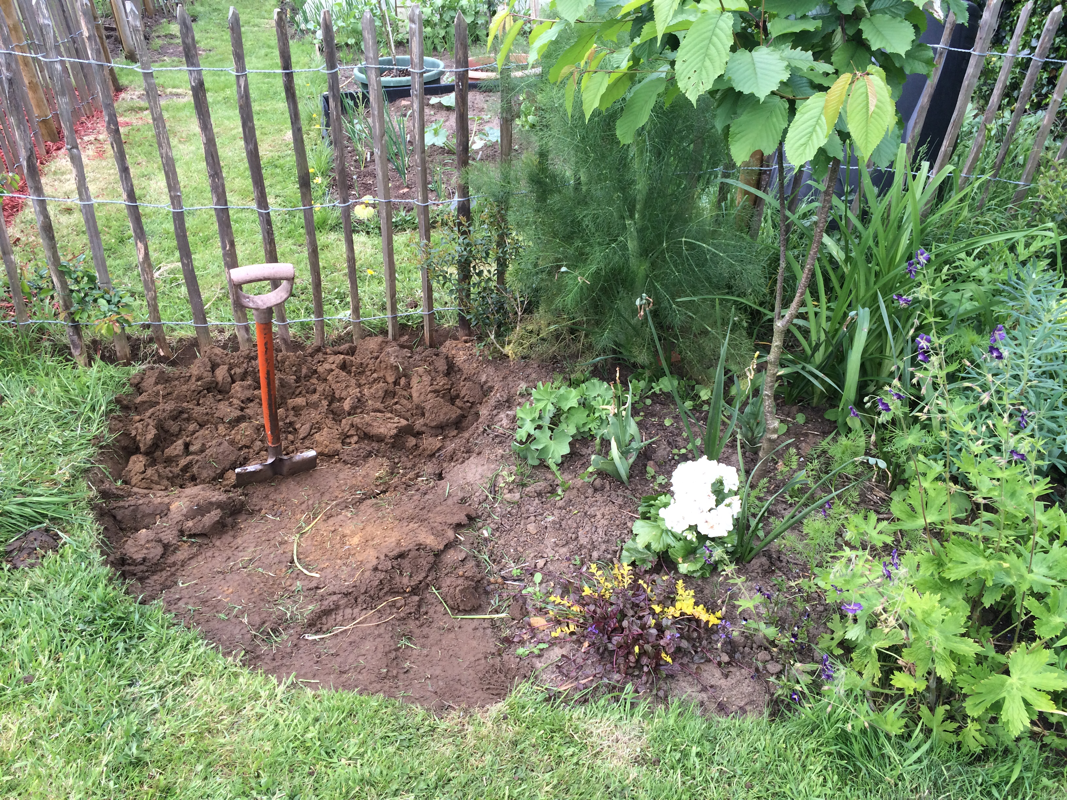
Ziggy sitting in the willow arch after all his hard work, We dug holes for the Rosa rugosa hedge that will run along the side of the allotment, They have been dug, fed, watered and mulched. We also removed all the weeds from around the dome, fed with bone and meal fertiliser and mulched. The bottom two photos are from the front garden, the bed was full of ground elder, so I removed all the plants, washed their roots, divided some of them and potted them on, then weeded the rest of the border and replanted. hopefully this will improve the situation but maybe not cure it!
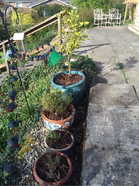
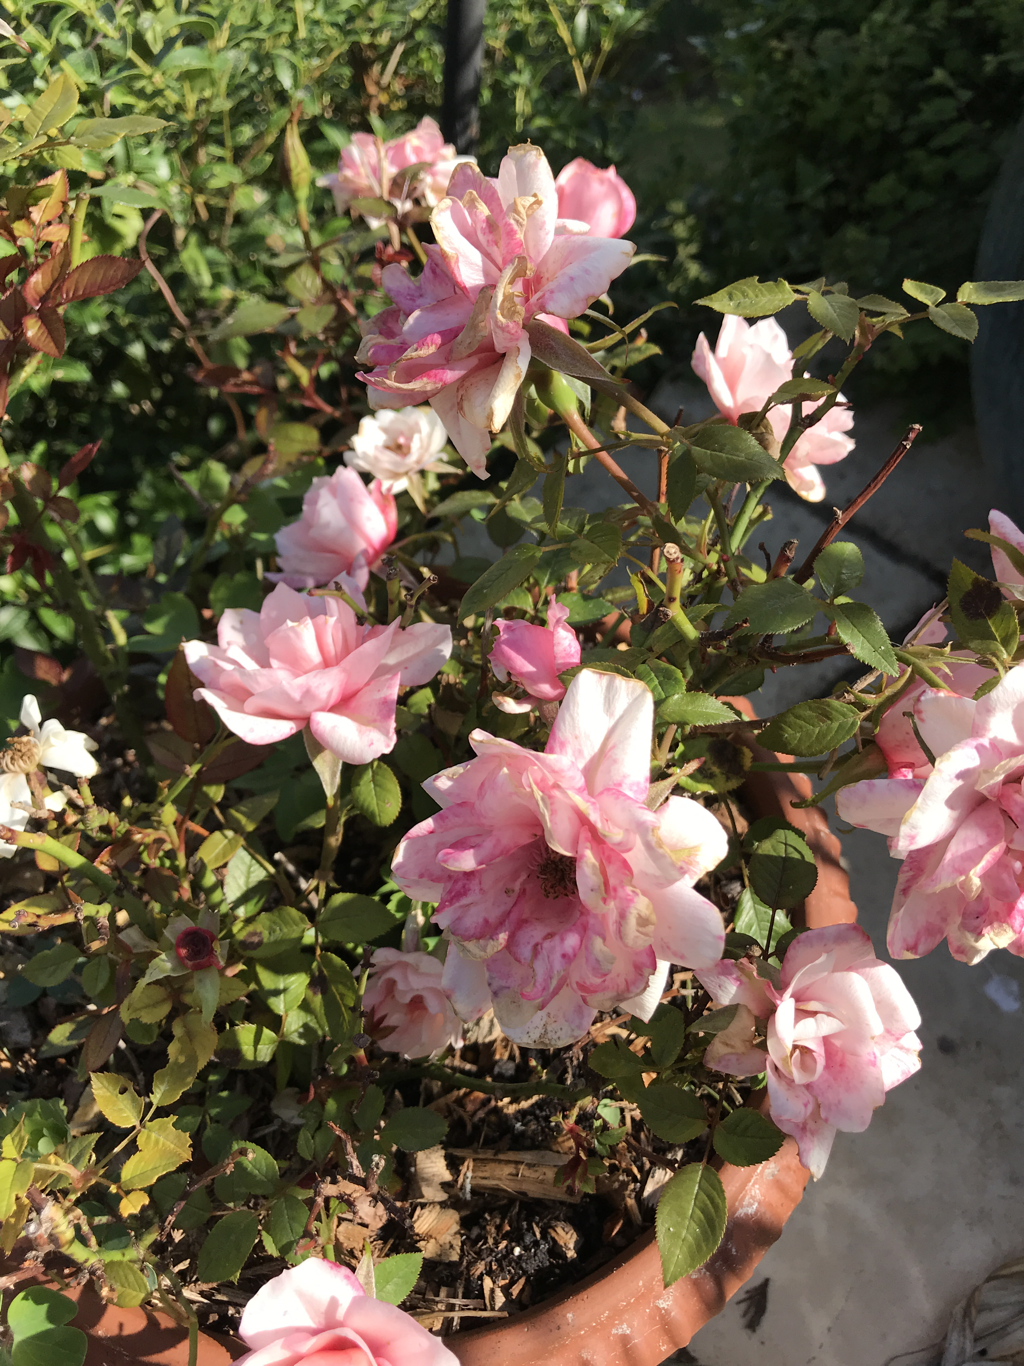
I feel really chuffed with myself because I have weeded all my pots, added some feed and then mulched on top. I have to say this is something I will now do on a regular basis, they look so good.
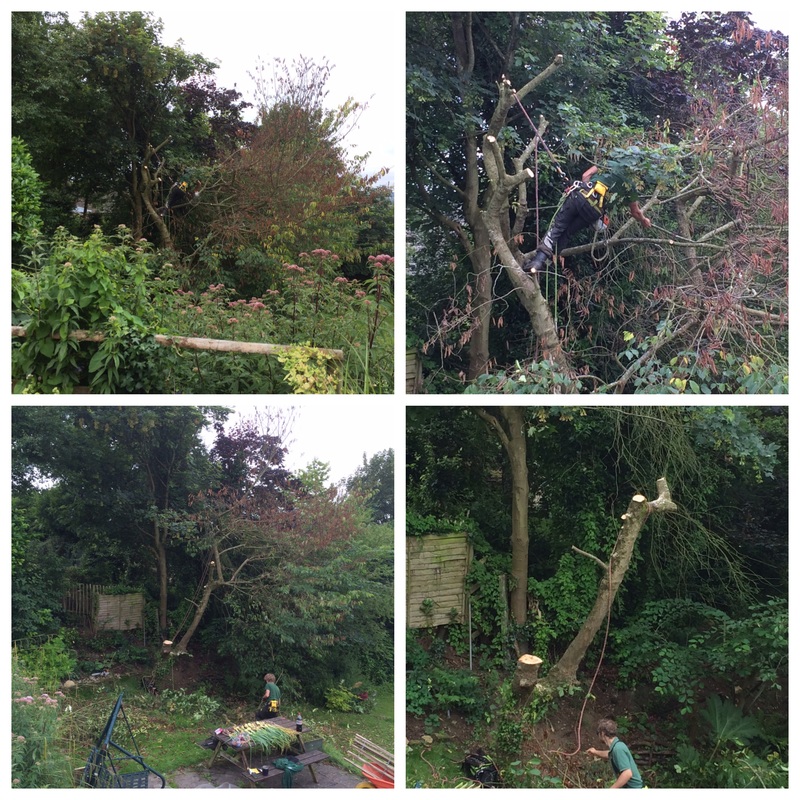
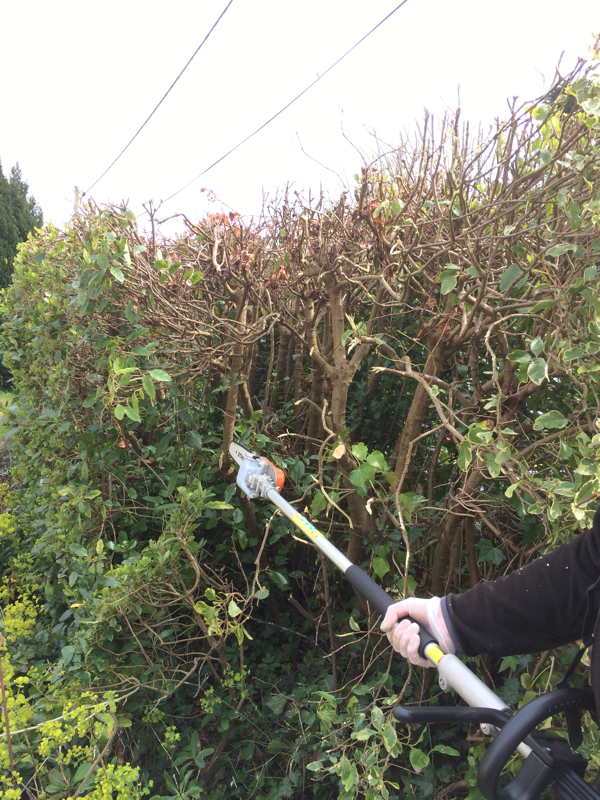
The front hedge has been allowed to grown very high and wide, so last year we took a few feet of the top and this has now started to sprout beautifully.
So with it being mid Spring, now is the time to undertake rejuvenation work on evergreen shrubs.
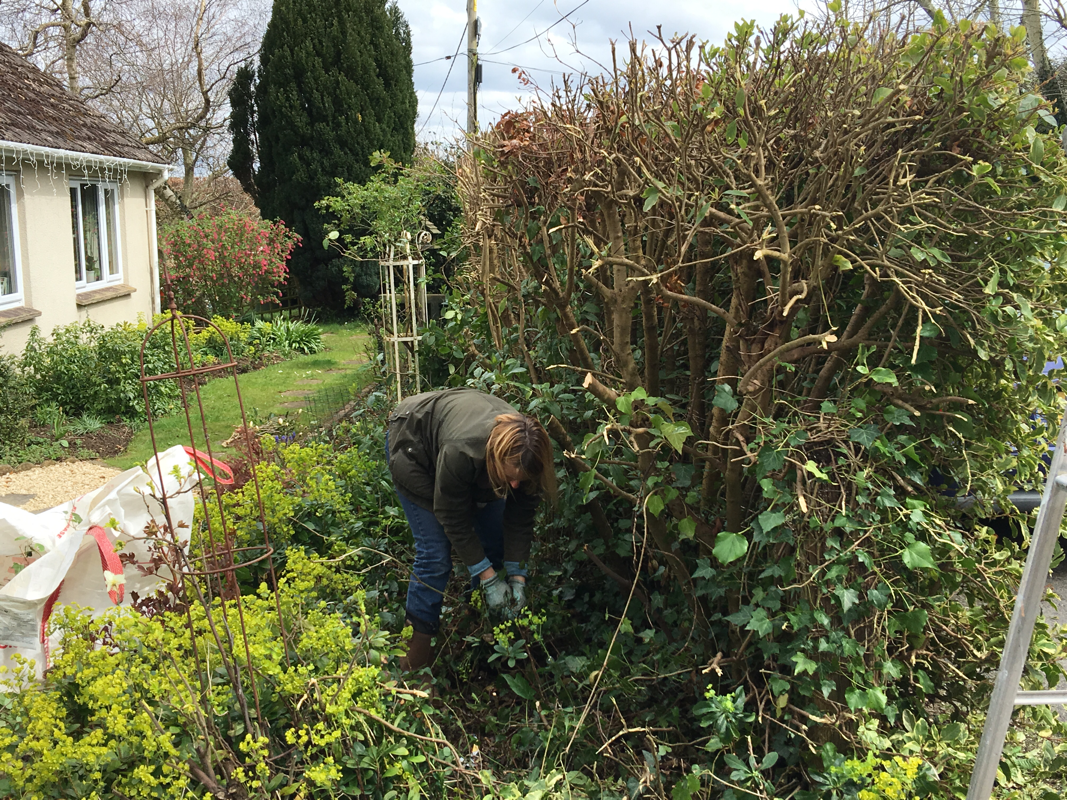
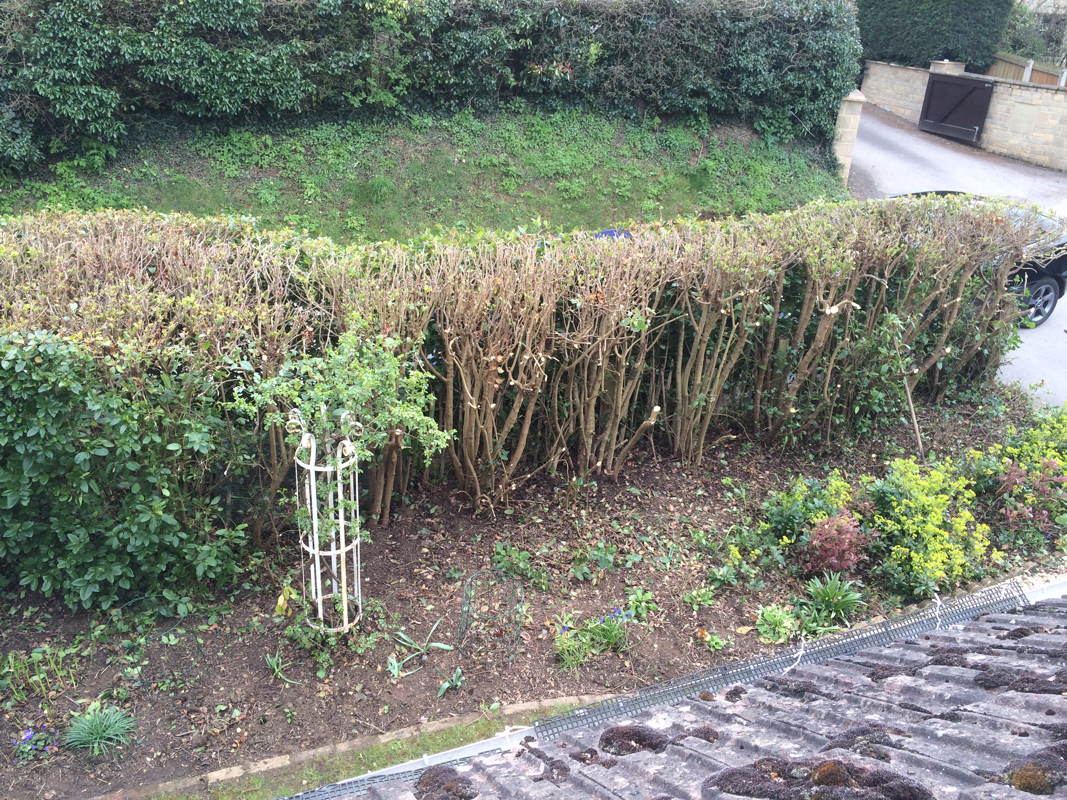
David and I agreed on how much to take it back and the chainsaw was put into action. I have to say, I was a bit worried it would look horrendous, but actually it has let so much more light into the border and given it some more depth. (more flowers!)
All the cuttings have been shredded and added to the compost bin. I have given the hedge a feed with some chicken manure pellets and I will give it a good mulch.
This was a whole day job but one that was will worth it and will make next years annual prune a lot easier.

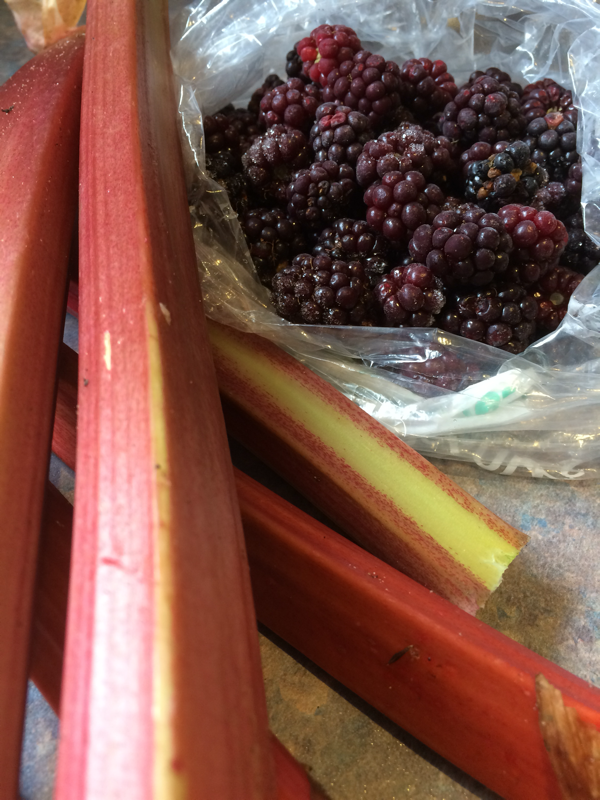
| | We had some friends round for Sunday dinner, so rhubarb crumble was on the menu, except I had found some of last years blackberries too. Delicious, served with huge dollop of cornish cream. |
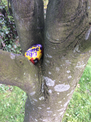
What a lovely surprise, whilst working hard in the garden, I turn round and find a cadbury's cream egg, hiding in the tree. A missing egg left over from Easter, whilst it was slightly wet from the previous days rain, this did not stop me from putting down my spade and eating it.
We prune roses to encourage flowering, to create or maintain shape, especially with standards and for the general health of the plant, ensuring all dead, diseased, damaged, displaced material is removed from the plant. Remove crossing branches that may rub against each other.
Any pruning cut should be made just above an outward facing bud, this ensures the centre of the plant does not get over congested and a natural goblet shape is acquired. The cut should be just above the bud, and slanted away so that any rain water runs away form the bud.
Best practise pruning would be to pruning in autumn, which will give the plant time to conserve energy.
When you prune in autumn it also reduces root rock that can be caused with winter winds, this causes the plant to rock, which in turn creates a well affect at the base of the plant, which can then fill up with water and freeze during the winter.
Then in January and February, give the plants a light prune to tidy up.
Roses fall into one of the 5 classes: within each class there are many named groups of roses:
Pruning Tips for each class: Always prune to an outward facing bud. Ensure all roses are kept free of dead, disease, damaged, crossing or rubbing branches and spindly growth. Removing all old and unproductive wood that can cause congestion and hinder air movement and light.
For moderate pruning you need to cut back the older, stronger shoot to 4-6 buds, about 15cm from from the base, to the point where last year's growth began. Lightly prune last years growth and shorten back any the less vigorous shoots to 2-3 bud, about 10cm from the base. This will leave the plant with stems of varying lengths which ensures a long period of continuous flowering. Obviously you would not prune the standard bushes to ground level but back to the main stem. Occasionally some of the older stems can be hard pruned back to within a few inches from the base to encourage stronger growth from the base.
Rose sickness: (Attacks plants in the Roseaceae and pyracantha family:
Any pruning cut should be made just above an outward facing bud, this ensures the centre of the plant does not get over congested and a natural goblet shape is acquired. The cut should be just above the bud, and slanted away so that any rain water runs away form the bud.
Best practise pruning would be to pruning in autumn, which will give the plant time to conserve energy.
When you prune in autumn it also reduces root rock that can be caused with winter winds, this causes the plant to rock, which in turn creates a well affect at the base of the plant, which can then fill up with water and freeze during the winter.
Then in January and February, give the plants a light prune to tidy up.
Roses fall into one of the 5 classes: within each class there are many named groups of roses:
- Climbers & Ramblers: when supported with climb. Ramblers have long, pliable stems with small flowers and climbers stems are stiff and the flowers are large than that of the ramblers.
- Hybrid teas: Usually grown as bush or standard roses. They have flowers on long stems and shapely blooms with many petals. The blooms are born singular or with several side buds.
- Floribundas - Bedding roses. Their flowers are in clusters or tresses and they have several blooms open at one time.
- Shrub - neither a hybrid tea or floribunda. There are also now modern shrub roses.
- Miniature - Grown for edging, tubs, rockeries and as indoor plants. The leaves and flowers are small and the plants maximum height is 15 inches.
Pruning Tips for each class: Always prune to an outward facing bud. Ensure all roses are kept free of dead, disease, damaged, crossing or rubbing branches and spindly growth. Removing all old and unproductive wood that can cause congestion and hinder air movement and light.
- Climbers & Ramblers- Click here for more information.
- The Bush Roses: Floribundas & Hybrid Teas: Prune late summer:
For moderate pruning you need to cut back the older, stronger shoot to 4-6 buds, about 15cm from from the base, to the point where last year's growth began. Lightly prune last years growth and shorten back any the less vigorous shoots to 2-3 bud, about 10cm from the base. This will leave the plant with stems of varying lengths which ensures a long period of continuous flowering. Obviously you would not prune the standard bushes to ground level but back to the main stem. Occasionally some of the older stems can be hard pruned back to within a few inches from the base to encourage stronger growth from the base.
- Single flowering shrub roses, and Miniature roses: Prune late summer.
- Repeat flowering shrub roses: Prune late winter.
Rose sickness: (Attacks plants in the Roseaceae and pyracantha family:
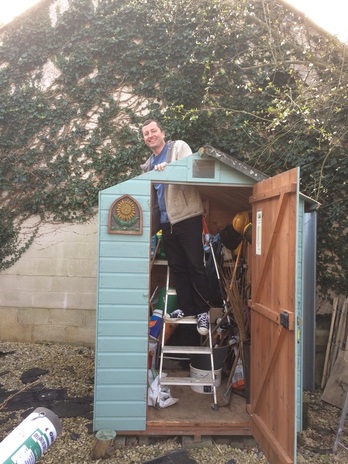
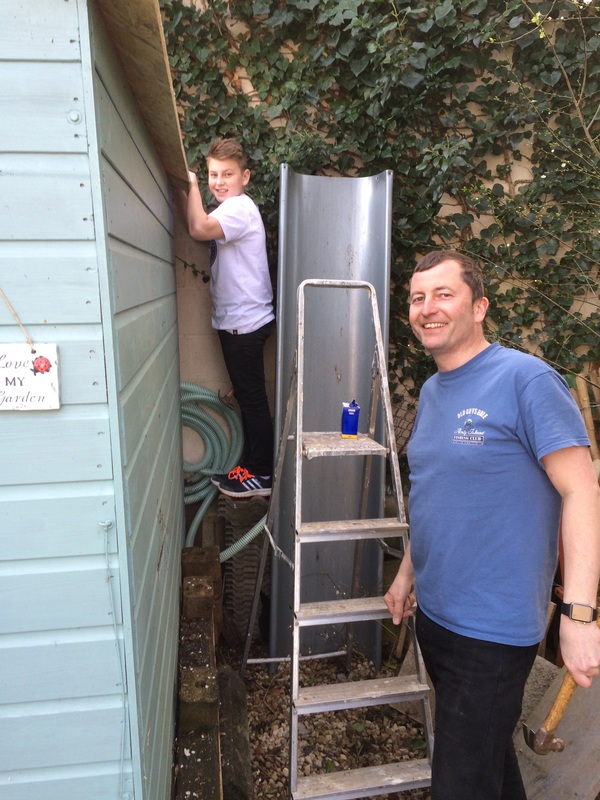
Today we were promised good weather and good weather we have had. The shed roof has been in need of repair for sometime and today was the day to get the job done. The felt has been bought and Ziggy and David made a start, only to discover that the roof wood is rotten, so another trip to Wicks and "hey presto" the new roof is almost finished! Good work boys.
 |  |
 What a fabulously, sunny, afternoon. It feels wonderfully to get out, lift all the old fallen leaves, fork the border over and finally plant the Skimmia japonica 'Rubella' and the Magnolia 'Stellata' that I bought in the sale a couple of weeks ago. I have also split a few of the crocus' and the geraniums and added them to the borders. I had some Digitalis that I grew from seed last year and never got round to planting out, so I have put them at the back of the border and hopefully they will flourish. What else! Ah yes, the lawn mower came out.....this was really just to hoover up all the cuttings and other detritus that had landed on the grass. And voila x1 trydy border, now for the back garden! | 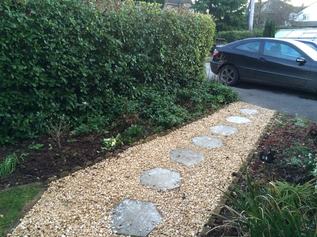 |
Durning the dormant season you undertake renovation and formative pruning. In the summer you would prune things like water shoots.
Types of tree pruning:
Crown lifting - for access
Thinning: to reduce crowding and congestion for the tree allowing in more light and air flow.
Reduction: to reduce weight.
General Maintenance:
You can mulch anytime of the year, with a varied of products, wood/bark chipping, leaf mulch, straw, well rotted manure, decorative stones, spent mushroom compost etc. Apply around the base of the tree to suppress weeds, lock in moisture and feed some nutrients.
Mulching also improves soil structure,
Before Mulching clear away fallen leaves, fallen fruit, weeds, pruning etc.
Signs that a tree would need some TLC;
Bracket fungus, a fungus that grows on the trunk and looks like umbrellas, this is a sure sign that the tree may need felling. You can monitor the tree by measuring the size of any fruiting fungal bodies over a period of time.
If a tree has an displaced branches then they will need removing to balance the tree crown.
Types of tree pruning:
Crown lifting - for access
Thinning: to reduce crowding and congestion for the tree allowing in more light and air flow.
Reduction: to reduce weight.
General Maintenance:
You can mulch anytime of the year, with a varied of products, wood/bark chipping, leaf mulch, straw, well rotted manure, decorative stones, spent mushroom compost etc. Apply around the base of the tree to suppress weeds, lock in moisture and feed some nutrients.
Mulching also improves soil structure,
Before Mulching clear away fallen leaves, fallen fruit, weeds, pruning etc.
Signs that a tree would need some TLC;
- A visual inspection of the tree from base to the top of the crown, using binoculars to ensure a good visual. you would be looking for dead branches in the crown, damaged and shedding branches and any epicormic growth, that may need removing.
- If a tree has a cavity then follow CODIT and monitor the situation.
- Zoning -
-
Bracket fungus, a fungus that grows on the trunk and looks like umbrellas, this is a sure sign that the tree may need felling. You can monitor the tree by measuring the size of any fruiting fungal bodies over a period of time.
If a tree has an displaced branches then they will need removing to balance the tree crown.
What's in it, and what it does:There is a huge range of different composts that we can use in the garden, but what do they do? For seed sowing, cuttings and potting on: Potting/Cutting compost: Vermiculite and Perlite: I always thought these two were the same sort of thing.... and they sort of are. They are generally used when sowing seeds and are mixed into cutting composts. Vermiculite: A lightweight micra-like mineral expanded by heat. It is used to cover seeds and because it is translucent the light still gets through. It is added to compost to improve aeration and because it is a moisture-retentive material it helps to hold the water and nutrients. Perlite: A lightweight volcanic mineral: Used in compost, when taking cutting and transplanting seedlings. It improves aeration and drainage and aid rewetting of peat. It is also used in hydroponics. Used as a replacement of grit. Polystyrene: A byproduct of the oil industry and yet another product that doesn't biodegrade so if not reused, fills our landfill sites. It is sometimes used a a replacement for penlight to aid aeration and increase drainage in cutting composts. General Composts: Household compost: Best used as a mulch or soil improve Rockwell: A product that is made from natural materials, chalk and basalt rock, the two materials are crushed, melted and spun, into a water retentive material (that is not biodegradable! so unless reused, it is another product that fills our landfill sites) It is used as a substitute for peat, used in hydroponics as a media by itself, or shredded and added to compost because it provides good aeration and is water retentive. Mulch/Soil Improvers: Composted Bark: Chipped and composted tree bark. Also added to compost as an alternative to peat. Use as a soil conditioner. It also increases aeration and drainage: Leaf mould: decomposed leaves from broadleaved trees, that is stored for 1-2 year. It is used in potting compost to retain moisture and improve texture. A good soil improver if you have sandy soil and is a good mulch. Composted green waste: This is usually made up of green waste that is collected by the Local Authority, shredded and then left to compost before being sold on. Use as a garden mulch or did into the soil to improve the texture. It may contain perennial weeds and other foreign objects that have found their way through the sieve. Spent Mushroom Compost: A waste product from mushroom growing, usually made up of horse manure or other nitrogen rich material and straw. A great mulch, top dressing or soil improve, although you do need to take care with perennial weeds. It can also increase the alkalinity in soil/growing media. |
A weed is a plant considered undesirable, unattractive or troublesome. It is a plant that competes with the plants we want in the garden, for nutrients, water and sunlight.
Weeds are either annuals, perennials, biennials or ephemerals. It is important to know the life cycle of a weed to help you know how to control it.
How to get rid of weeds:
WEED KILLERS:
Contact - this type of weedkiller may need to be reapplied, as it only kills the areas of the plant it touches and doesn't travel down to the roots. Good for annual weeds like dead nettles, Lamium puerperium or chickweed, Stellaria media.
Systemic/translocated - Kills all plants down to the roots. You apply to the plant's leaves and the weedkiller travels through the plant, down to the roots and restricts the amount of nutrients and water the plant needs and so it dies. This type of weed killer works well on deep rooted perennial weeds like dandelions, taraxacum officinale or Daisy's, Bellis perennis.
Residual - these weed killers are best suited for use on paths or between paving. If it is used near flowers, shrubs and trees it could poison the soil and the nearby plants many ingest it. It's important not to use this type of weed killer need sites with edible plants.
Selective: only kills dycotoledons, so it is a lawn weed killer as it kills most broad-leafed weeds found in the grass. Grass is a monocotyledon so it not effected.
Non-selective: kills plants and weeds. It is used as an all over spray on uncultivated ground. Certain brands can be used as a direct spray between plants. These contain glyphosate which when used on areas that are then farmed for food, traces of glyphosate can be transferred and as a result builds up in the human body.
Biological controls:
Be careful if you use a residual weed killer in a walled garden with pathways. The weed killer could stunt the growth of surrounding plants because the area is a micro climate.
Weeds are either annuals, perennials, biennials or ephemerals. It is important to know the life cycle of a weed to help you know how to control it.
How to get rid of weeds:
- Preventative measures: this comes down to good husbandry. Mulching around plants.
- Mechanically - Physically removing the plants for example pulling them out when you rotervate.
- Chemically - using herbicides which is a substance that is toxic to plants so removes the unwanted vegetation.
WEED KILLERS:
Contact - this type of weedkiller may need to be reapplied, as it only kills the areas of the plant it touches and doesn't travel down to the roots. Good for annual weeds like dead nettles, Lamium puerperium or chickweed, Stellaria media.
Systemic/translocated - Kills all plants down to the roots. You apply to the plant's leaves and the weedkiller travels through the plant, down to the roots and restricts the amount of nutrients and water the plant needs and so it dies. This type of weed killer works well on deep rooted perennial weeds like dandelions, taraxacum officinale or Daisy's, Bellis perennis.
Residual - these weed killers are best suited for use on paths or between paving. If it is used near flowers, shrubs and trees it could poison the soil and the nearby plants many ingest it. It's important not to use this type of weed killer need sites with edible plants.
Selective: only kills dycotoledons, so it is a lawn weed killer as it kills most broad-leafed weeds found in the grass. Grass is a monocotyledon so it not effected.
Non-selective: kills plants and weeds. It is used as an all over spray on uncultivated ground. Certain brands can be used as a direct spray between plants. These contain glyphosate which when used on areas that are then farmed for food, traces of glyphosate can be transferred and as a result builds up in the human body.
Biological controls:
Be careful if you use a residual weed killer in a walled garden with pathways. The weed killer could stunt the growth of surrounding plants because the area is a micro climate.
To prune or not to prune? You could just leave them to grow and they will naturally continue growing year after year, however the stems will become woody and bare at the base, with flowers only being produced at the top, these flowers will also become smaller and the shoots will become weaker.
So when should you prune? Well, it helps if you can identify what type of clematis you have and then prune according to the groups below:
If you are planting a new Clematis, regardless of which group it belong to, it should be hard-pruned in their first spring, which would mean taking each stem back to an outward facing bud about 15-30cm above the ground.
Before undertaking any pruning work, make sure your plant is healthy. Remove any dead, damaged, diseased and displaced material:
Group 1: are small flowering species, that flower on last seasons growth and have finish flowering by June. Every year you would undertake general maintenance pruning straight after flowering, cutting back the flowered stem by about half of their length.
Spring-flowering species like C.montana, come into leaf as they start to flower and winter-flowering species are evergreen like C. armando, so pruning will involve cutting back into the leaf-covered stems.
If the Clematis has been left over a few years without being pruned then you will need to undertake renovation pruning, this will produce re-growth and you can re-shape the plant. To do this involves cutting back the whole Clematis to about 15-30cm from the base of the plant, you will then not get flowers until the next year, but the plant will hopefully provide an abundance of fresh growth and larger, healthier flowers.
Do not over fertilise if you have just renovated the plant as it may be in shock and needs resting, if you apply fertiliser it will have to work too hard.
Group 2: Large flowering species that are Hybrids. They flower May - June on short laterals that develop from the previous years growth. Some will re-flower in summer on current seasons growth.
General prune in early winter or early spring just before they start to grow, removing any dead, diseased, damaged or displaced material, then look for strong, outward facing, thick buds to prune back to. (the buds are in pairs).
You only want to prune a 3rd of the growth, this will enable the plant to concentrate its energy into stronger shoots and flowers. After the first flowering in the year you can prune some of the stems back to buds, below the old flowers, this may give you a second flowering.
If the clematis is very crowded you can also reduce some of the congested stems at the base, and be mindful that if you prune too hard one year, the flowers will be smaller the next year but then will be back to normal size.
Group 3: Large flowering cultivars/small flowering cultivars and herbaceous perennials. These flower later in late summer and autumn and are the easiest to prune. They flower of current seasons growth and if left unpruned they would become very woody, with lots of new growth growing through the old growth and it will end up looking like a birds nest, with all flowers being produced at the top of the plant.
So to prune these clematis's you cut back the whole plant to about 25cm above soil level to a health but in late winter or before the new growth begins in early spring.
General maintenance would also be to keep the root system moist, especially in the first couple of years of planting. Keep the base of the plant well mulched, this will deter any hungry slugs.
A few diseases to be aware of:
Clematis wilt: usually affects the large hybrids, in summer, so I may look like the plant needs a good watering. It can affect some or all of the plant. Cut the affected areas and make sure you cut at least 30cm further back to ensure you get it all. If the whole plant is infected then cut back to just above ground level and feed with a liquid fertiliser to encourage new growth.
Mildew: A white powdery fungus. The symptoms and cure for mildew in clematis is the same for all plants that have mildew. Prune well and remove all infected leaves and stems from the plant and the surrounding area to stop the spread, then mulch and water.
Slim flux: This is a rare disease with no cure. The plant has a yellow, orange, white, slimy liquid that oozes near the base of the plant, caused by a chemical reaction. Best practice, dig the plant up, burn it and don't plant a clematis in the same spot.
To summarise:
Group 1: Small flowering species that flower on last years growth and finish flowering by June - Prune JUNE!
Group 2: Large Hybrids that also flower on last years growth and flower May - June - Prune early winter/early spring.
Group 3: Small flowering cultivars, large flowering hybrids and herbaceous species that flower on current years growth - prune back to 25cm above soil level in early spring.
What does it do?
Nitrogen stimulates the growth on leaves and stems and increases the size of the plant.
Phosphates: stimulates root and stem growth and speeds up the flowering.
Potash: Stimulates the flowers and improves drought and disease resistance.
Calcium: Magnesium: Iron: Boron and Manganese: maintain the normal green colour of the foliage, Boron prevents leaflet distortion and calcium reduces die back on stems.
1)In Spring and then again in summer: apply 1oz of Powder or Granular fertiliser around each plant. This contains Nitrogen, Phosphate and Potash. Magnesium, iron and gypsum
2) Once in April/May/June & July: feed with a liquid fertilizer.
(such as bio plant food)
3) Then fortnightly between the applying 1 & 2 above, apply a foliar feeding, this is applied as a spray to the plant and is a supplement.
4) Mulch after pruning at the end of the flowering season.
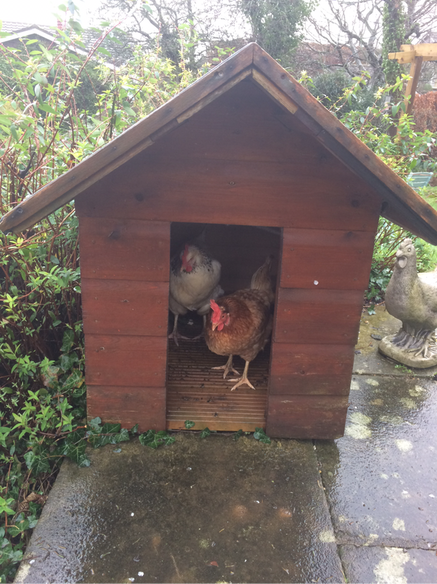
Came home to find the chickens taking shelter from the wind and rain....
| This week at college I have been learning about pruning roses. I have a few roses in the garden, although I don't know what species they are, I know there are two rambling roses in the front garden and a climbing rose on the front of the house. I know this because Ramblers have 7 leaflets and climbers have 5 leaflets, I have photographed the leaves from my plants and you can see they don't look healthy, so I am going to need to give them lots of TLC this year. That means, feeding and water them regularly, (see feeding roses page), mulching them and prune them well. Ramblers have long pliable stems with huge trusses of flowers, the flowers only flower once in summer, around June. They are good for trellis and arches, but also good to climb through hedging and trees and hide unsightly things in the garden. Climbers have stiffer stems, large flowers and smaller trusses. The rose, flowers on mature wood so pruning and maintenance is easier and they are generally less vigorous and they are not self supporting so need to be tied to something, also climbers repeat flower throughout the summer. Formative prune ( for example: creating shape with a young plant-, training in against a wall or trellis). because climbing roses are not self clinging the need to be tied into a support or trellis or grown on horizontal wire. If grown on wire then the lowest wire should be 45 cm of the ground and then 30cm apart. If you prune out the main stem then this will increase side branches. Routine Pruning: |   |
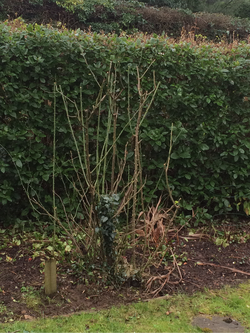
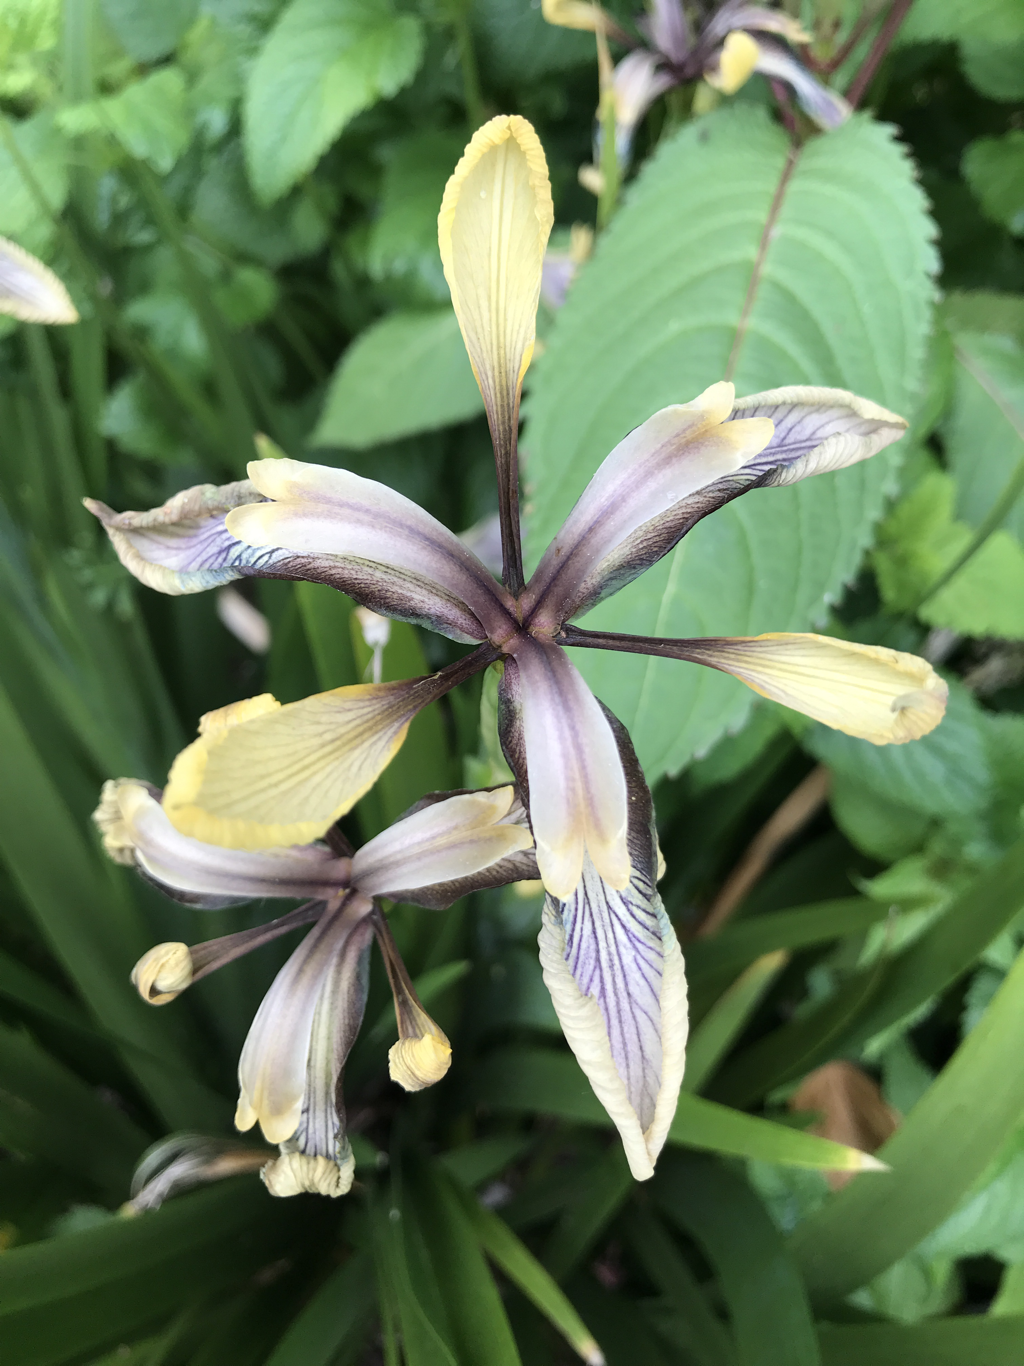
This is one of my rambling roses, I know its blooms are white but thats all.
I have pruned it slightly, but now know that because the rose has not been pruned for a few years it could do with a renovating prune, so I will remove the dead wood and old woody branches to the base of the plant, and I will cut back the side branches which have flowered, leaving 2-3 leaf buds per shoot. Always make your cut to an outward facing bud and make slanted so that the water runs away from the bud.
The new shoots which will flower next year can then be tied into the supports.
If there are not enough new stems, trim the best of the old lateral stems to about 3” of the main stem.
There are a few very tall, straight and thorny shots that appear to have no buds, these are old watershoots that have been allowed to grow, that I will remove as they will not provide good flowering shoots.
This is my climbing rose, which I now know I should have pruned in the autumn after the flowers started to fade. I always thought it was good that the flowers were still flowering into November time, but have since realised that actually I will get better blooms by pruning and giving the plant time to store energy for next year.
So Prune in Autumn or early Spring, when the buds will have begun to swell but there are no leaves. Always start by removing any dead, diseased, damaged or displaced branches. Remove any really old branches and any crossing branches, if the plant is heavily congested, as this will stimulate the plant to produce new growth. It will also allow more air flow and light to the plant.
Prune the side branches back to leave 2-3 leaf buds and again always cut to an outward facing bud. Also if there are any suckering growth from the base remove these.
Summary:
Ramblers - Prune late summer or autumn, after flowering.
Climbers - Prune in the autumn or early spring, after flowering.
The other good reason for pruning in Autumn is to reduce root rock, because you will be taking the height of the plant down. Root rock can also cause the plant to shoot from the base which we don't want.
Always clear away any old leaves and debris from the base of the plant and give a good mulching with something like bark chippings.
 RSS Feed
Categories
All
Clematis
Climbing Roses
Composting
Coppicing
Coppicing Willow
Dry Stone Walling
Dutch Elm Disease
Exochorda Macrantha
Feeding Roses
Gardeners World Live 2017
General Maintenance Pruning
Halloween
Herb Garden
June
Light-pruning
May
Pruning
Pruning Roses
Pumpkins
Raising Vegetable Beds
Rambling Roses
Renovation Pruning
Roses
Sunflowers
The Bank By The Pergola
The Great Wall
Tilly
Tree Pruning
Ulmus Glabra
Weaving
Weeds
Wildlife
Willow
Willow Dome
Wych Elm
Author
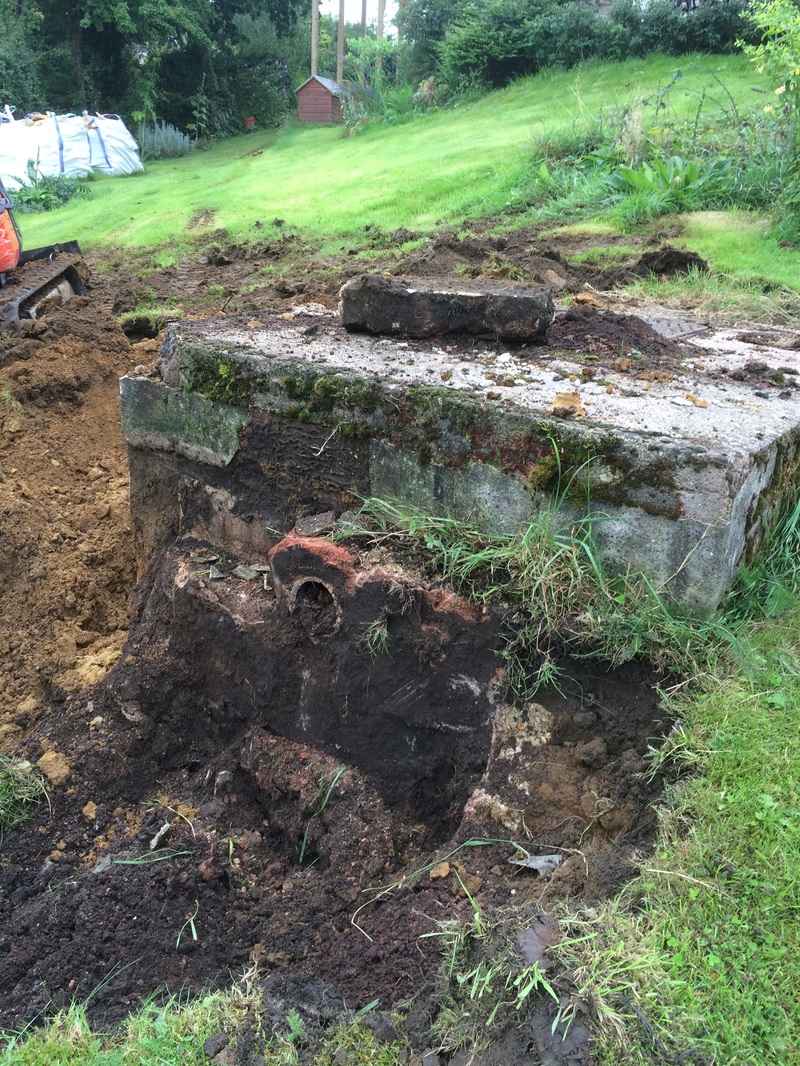
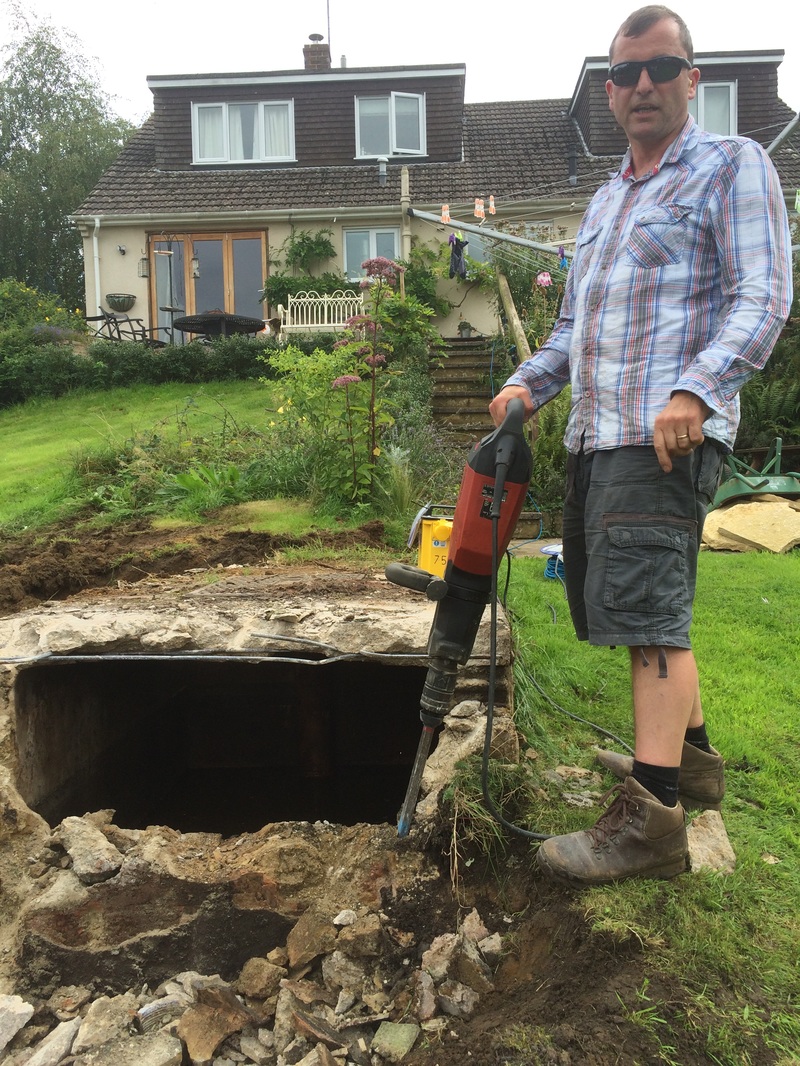
The Drock, meaning Water Course:
This Blog is about life at The Drock.